Better Payment brings an exciting ‘Campaign Builder’ feature with endless customization flexibility. Using the feature, you can build your new campaign from scratch or go with pre-built templates for different causes and fundraising goals.
Follow the step-by-step guide below to create a new campaign using the Campaign Builder.
Note: Make sure you’ve installed and activated Better Payment in your WordPress dashboard.
Step-By-Step Guide to Create a New Campaign Using Campaign Builder #
All you have to do is choose a template that fits your needs, then customize the content, design, and settings to make it your own. Let’s follow the steps below:
Step 1: Adding a New Campaign #
To add a new campaign using Better Payment, go to your dashboard & navigate to ‘Better Payment’ → ‘Campaigns’ → ‘Add New Campaign’ as shown below. Doing so, you’ll be redirected to the campaign templates page.
Step 2: Choosing a Campaign Template #
Now, you need to select a template for your campaign. You can either go with a blank template or prebuilt templates that Better Payment offers for different campaign purposes.
Before making your pick, you can preview the templates Better Payment offers. To do so, hover over any prebuilt templates & click on ‘Preview’ & if you’re okay to go, click on ‘Use This Template.’ And your chosen template will be exported to the editor, which you can customize further.
Here, we’re going with a prebuilt template, ‘Tree Plantation Campaign’ from Better Payment, to make you understand how things work later on (from customizing to publishing).
Step 3: Customizing Your Campaign #
Here comes the customization part. Once you have your chosen template in your editor, you can get the flexibility of full customization.
i. Name Your Campaign #
Directly from the editor, you can rename your campaign according to your preferences. To do so, click on the edit icon in the top left corner, as shown below.
ii. Customize Campaign Fields #
You can easily customize each campaign field of the prebuilt template. To do so, you just need to click on a specific field & can customize from the right ‘Customize Element’ panel.

Moreover, you can drag and drop new fields based on your campaign requirements. Here’s the campaign fields Better Payment offers for you now:
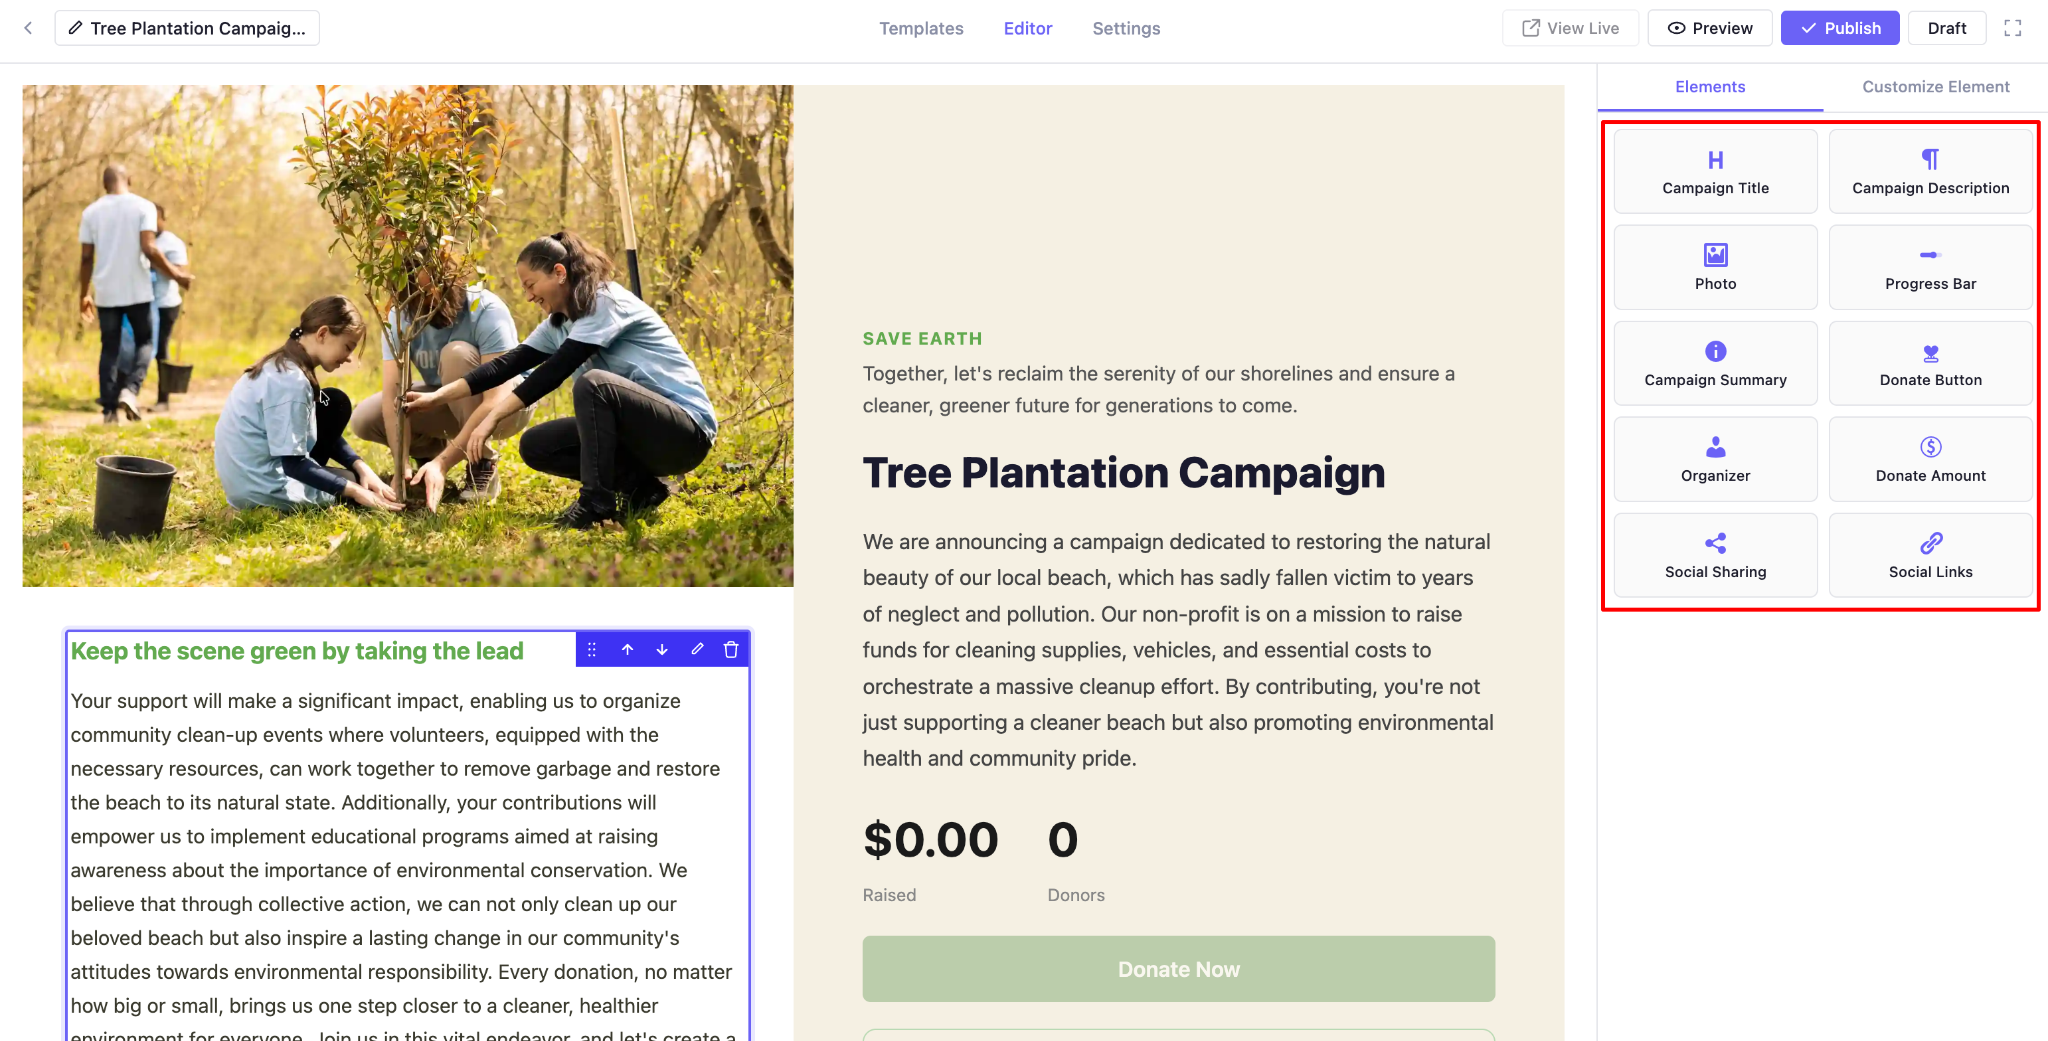
- Campaign Title
- Campaign Description
- Photo
- Progress Bar
- Campaign Summary
- Donate Button (make sure you have your donation page already published & paste the URL here)
- Donate Amount
- Organizer
- Social Sharing
- Socials Links
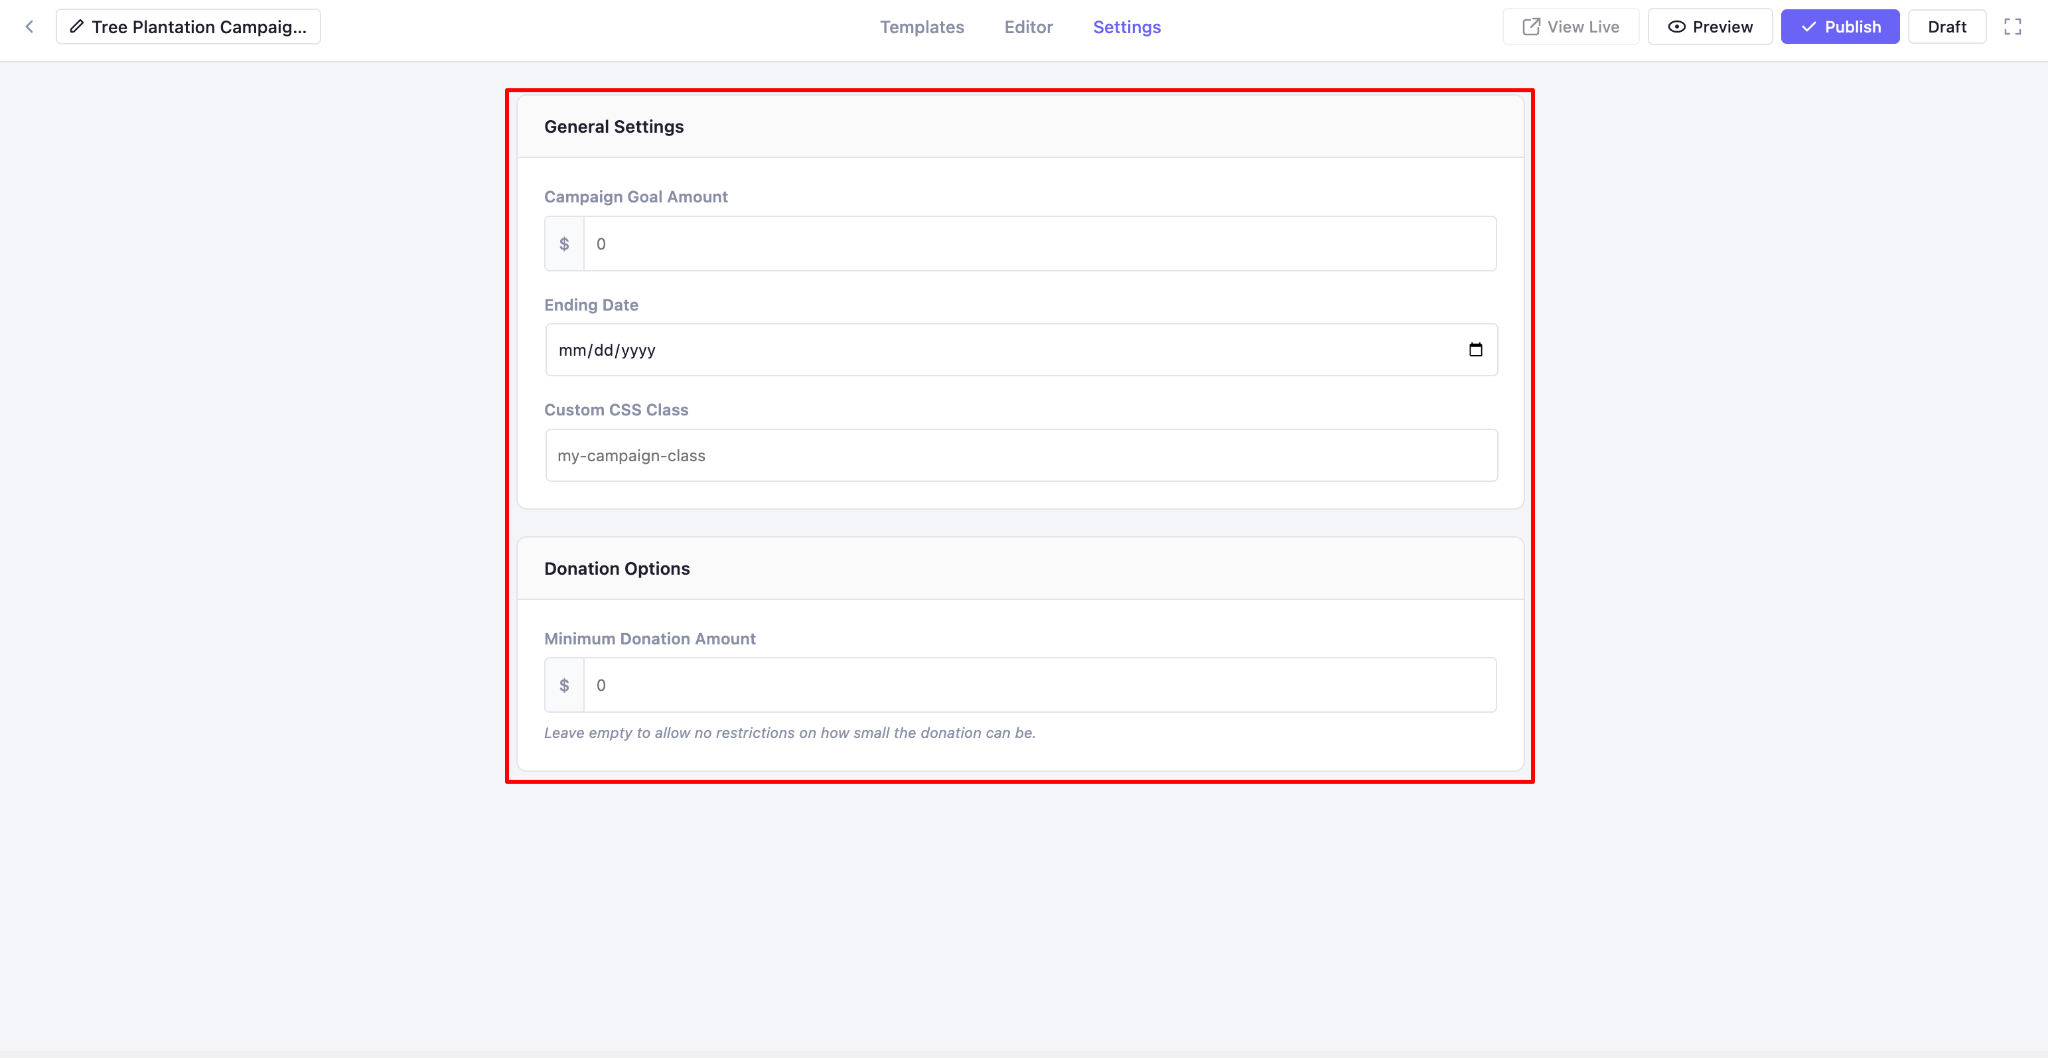
iii. Set Campaign Goal, End Date & Donation Options #
From the ‘Settings’ tab of your editor, you can set multiple things for your campaign from ‘General Settings’ & ‘Donation Options.’
Step 4: Publish Your Campaign #
Once you’re done with every customization, you can have a preview by clicking on ‘Preview’ before hitting the ‘Publish’ button.
Final Outcome #
By following all the steps above, you can have your first fundraising campaign LIVE using Better Payment’s Campaign Builder. Here is how it looks finally.
Getting stuck? Feel free to contact our support team for further assistance.