Better Payment is a WordPress plugin with which you can easily collect and manage payments from your Elementor website. This payment plugin provides its users the facilities to set up Customer Email, which the buyers/customers will receive after every successful transaction. Using this helpful plugin, you can boost credibility and gain the trust of loyal customers very easily.
How to Set Up Customer Email Contents In Better Payment? #
Follow this simple step-by-step guide to set up customer email content in Better Payment:
Step 1: Navigate To Better Payment Settings From Dashboard #
First, log in to your WordPress dashboard and navigate to Better Payments → Settings. It will take you to the “General” tab of the plugin dashboard. Then, navigate to the “Email” tab. From there, you can configure email contents for every purchase globally.

Step 2: Set Up Customer Email Contents #
From the “Email” tab, you can update the admin email content as well as the customer email content. To configure customer email, click on the “Customer Email” option. Here, you can add the email ‘Subject’ and customize the ‘Message’ that you want to share with the customers.

Step 3: Add Additional Headers In Customer Email #
Better Payment has an ‘Additional Headers’ option for adding From Name & Email Address. You could also add an email address where you could get replies for these email notifications from the ‘Reply-To’ section. You can also add ‘Cc‘ and ‘Bcc‘ email addresses that will be displayed in the email header and select ‘Send As‘ format for the email body.

How To Configure Customer Emails From Elementor Editor? #
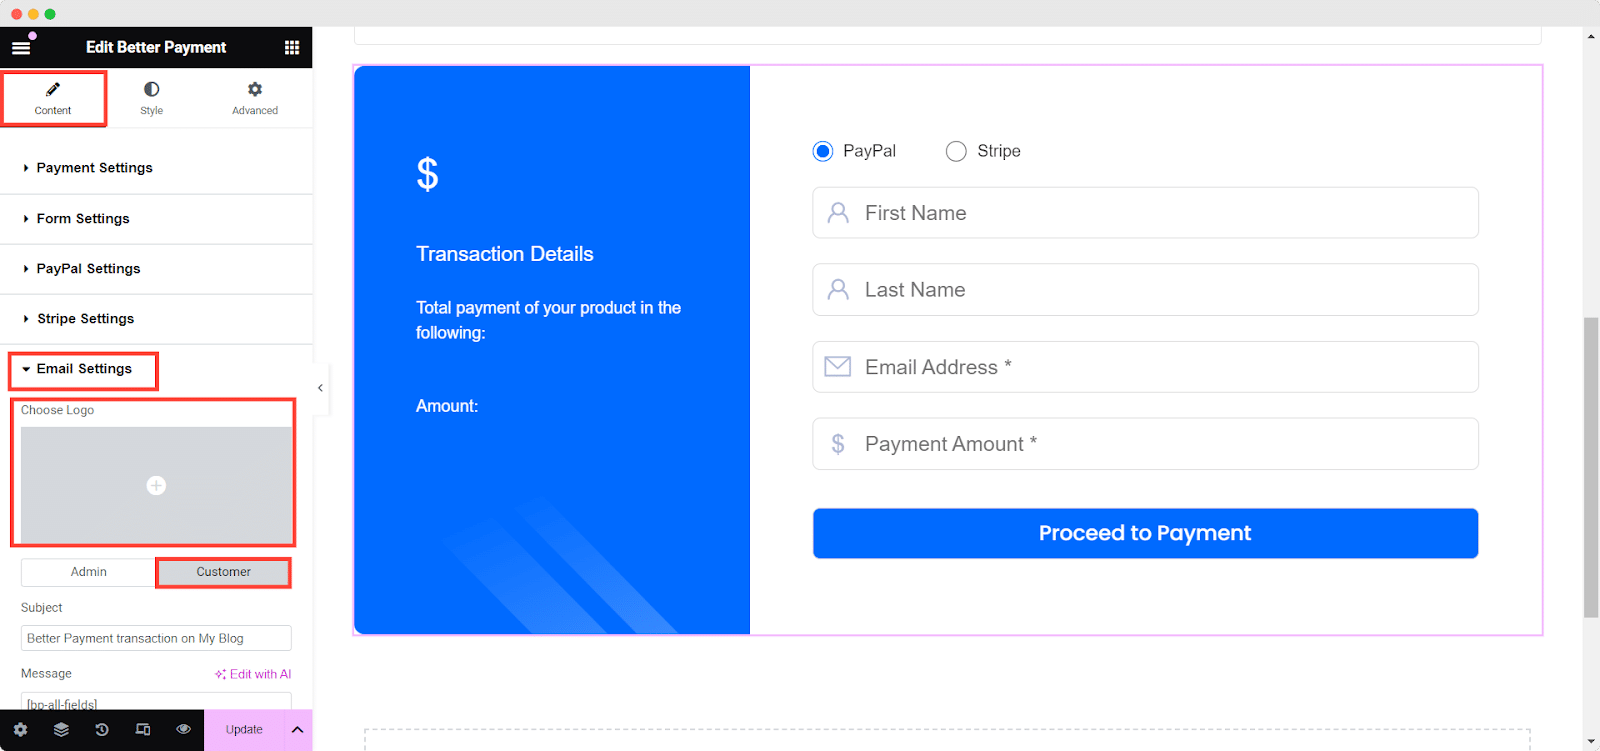
If you want to configure customer email for a specific Better Payment form, then you can do that directly from Elementor editor panel. Open a page in Elementor editor where you have the payment form already. Navigate to the ‘Email Settings’ located under the ‘Content’ tab. Here, you will have the opportunity to upload a custom ‘Logo’ specifically for your email.
Next, select the ‘Customer’ option to access and customize the Admin email settings. This will enable you to tailor the email according to your specific requirements.
Add the subject line of the recipient’s email in the ‘Subject’ field, then compose the email in the ‘Message’ box. You can attach any PDF, JPG or PNG files to the email by dragging and dropping them into the ‘Attachments’ field.
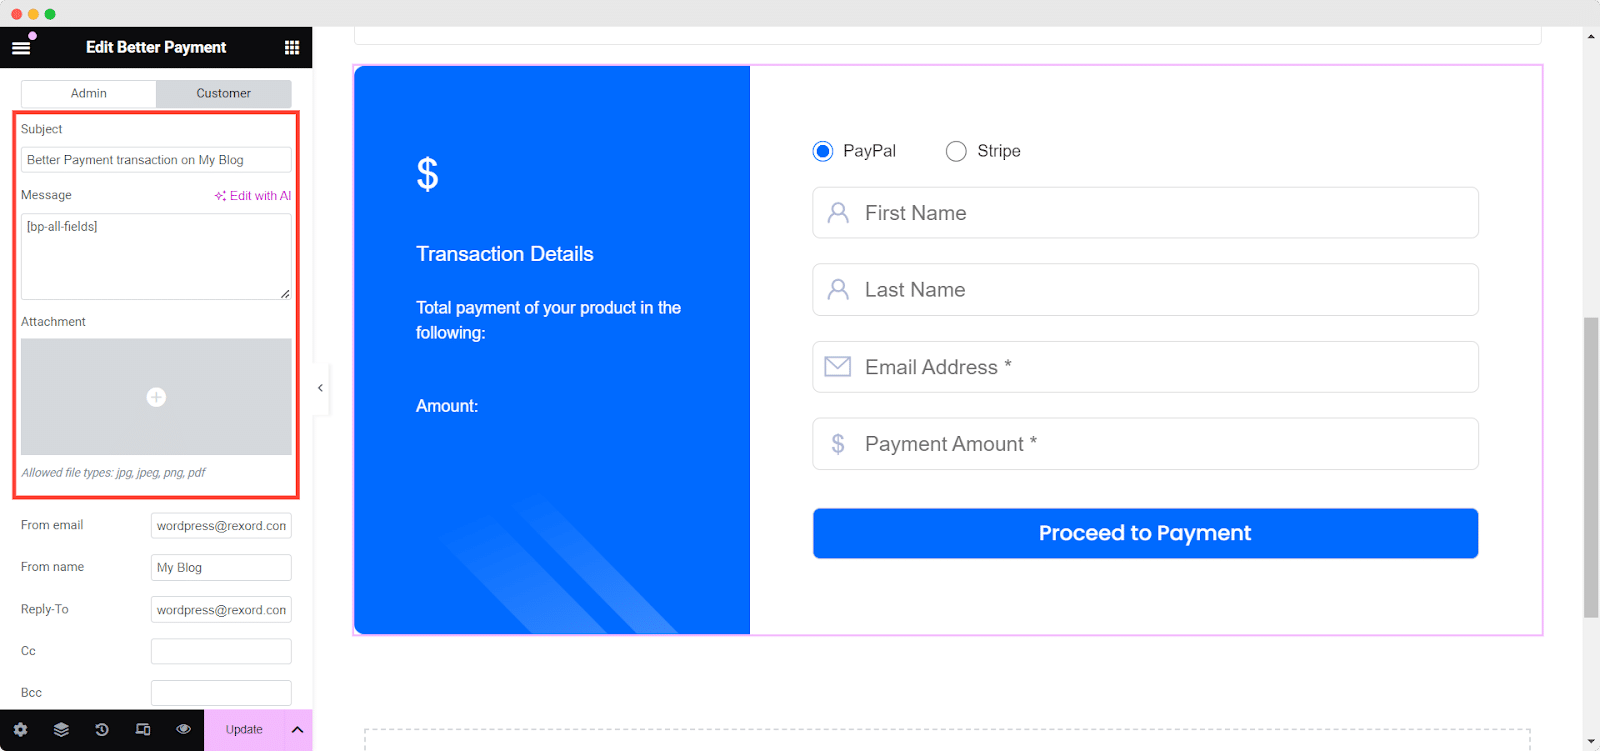
By carefully adjusting these settings, you can create a fully customized customer email that aligns perfectly with your brand, and keep the communication transparent with your customers.
Final Outcome #
Now if a customer pays for anything using this BetterPayment form, then the customer will get a email like this.
By following these simple steps, you can easily configure customer email content.Getting stuck? Feel free to contact our dedicated support team for any further assistance.