Better Payments is an Elementor payment plugin that can help you manage your transaction for payments, donations, and so on. With this payment solution, you can easily style payment forms in Elementor to give an interactive appearance to your customers.
How To Style Payment Forms Using Better Payment? #
Follow this step-by-step guide below to find out how to style payment forms in Elementor using Better Payment.
Step 1: Open Better Payment Widget On Elementor #
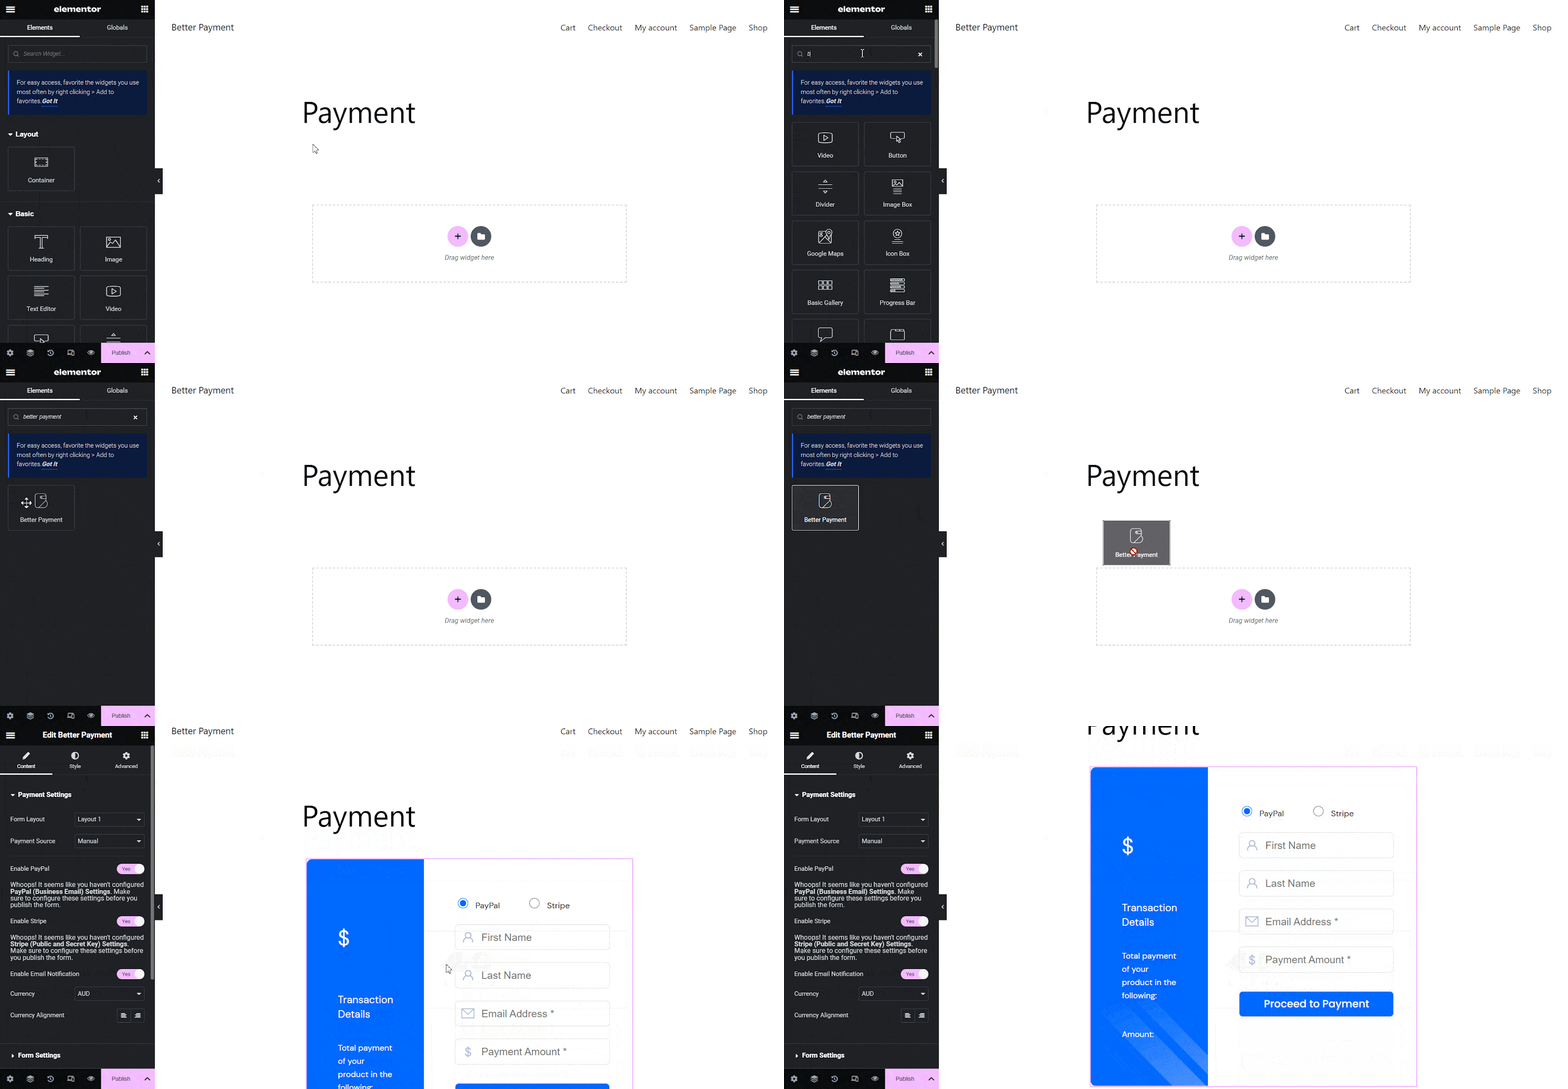
First, go to your WordPress dashboard and open the page where you want to add a Better Payment button. Next, click on ‘Edit with Elementor.’ Search for the Better Payment widget then drag and drop it on your preffered page section.
Step 2: Style Payment Forms In Elementor Using Better Payment #
After activating the Better Payment Widget, go to the ‘Style’ tab. Now, follow the guidelines below for designing your payment form in Elementor using Better Payment.
1. Payment Settings #
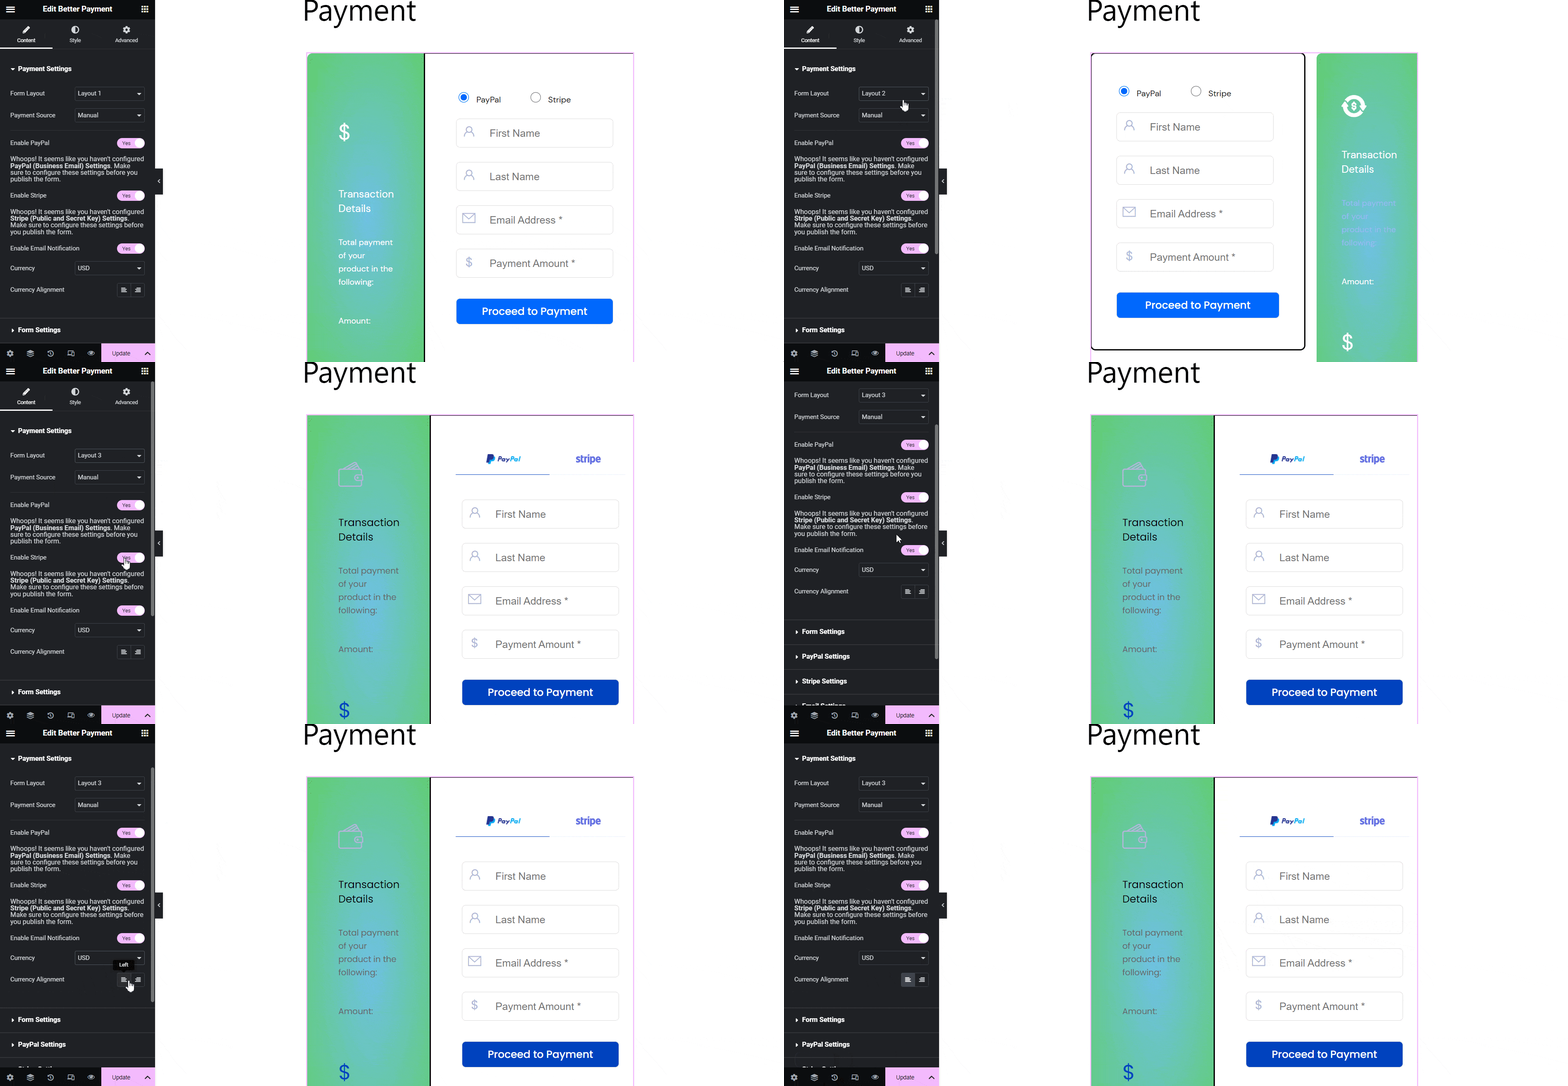
Better Payment comes with three Layout Options. You can choose any depending on your design needs. Plus, on the Payment Settings tab, you can also choose to enable PayPal and Stripe with a single button. Moreover, you can change the currency and alignment from this tab.
2) Form Container Header Style #
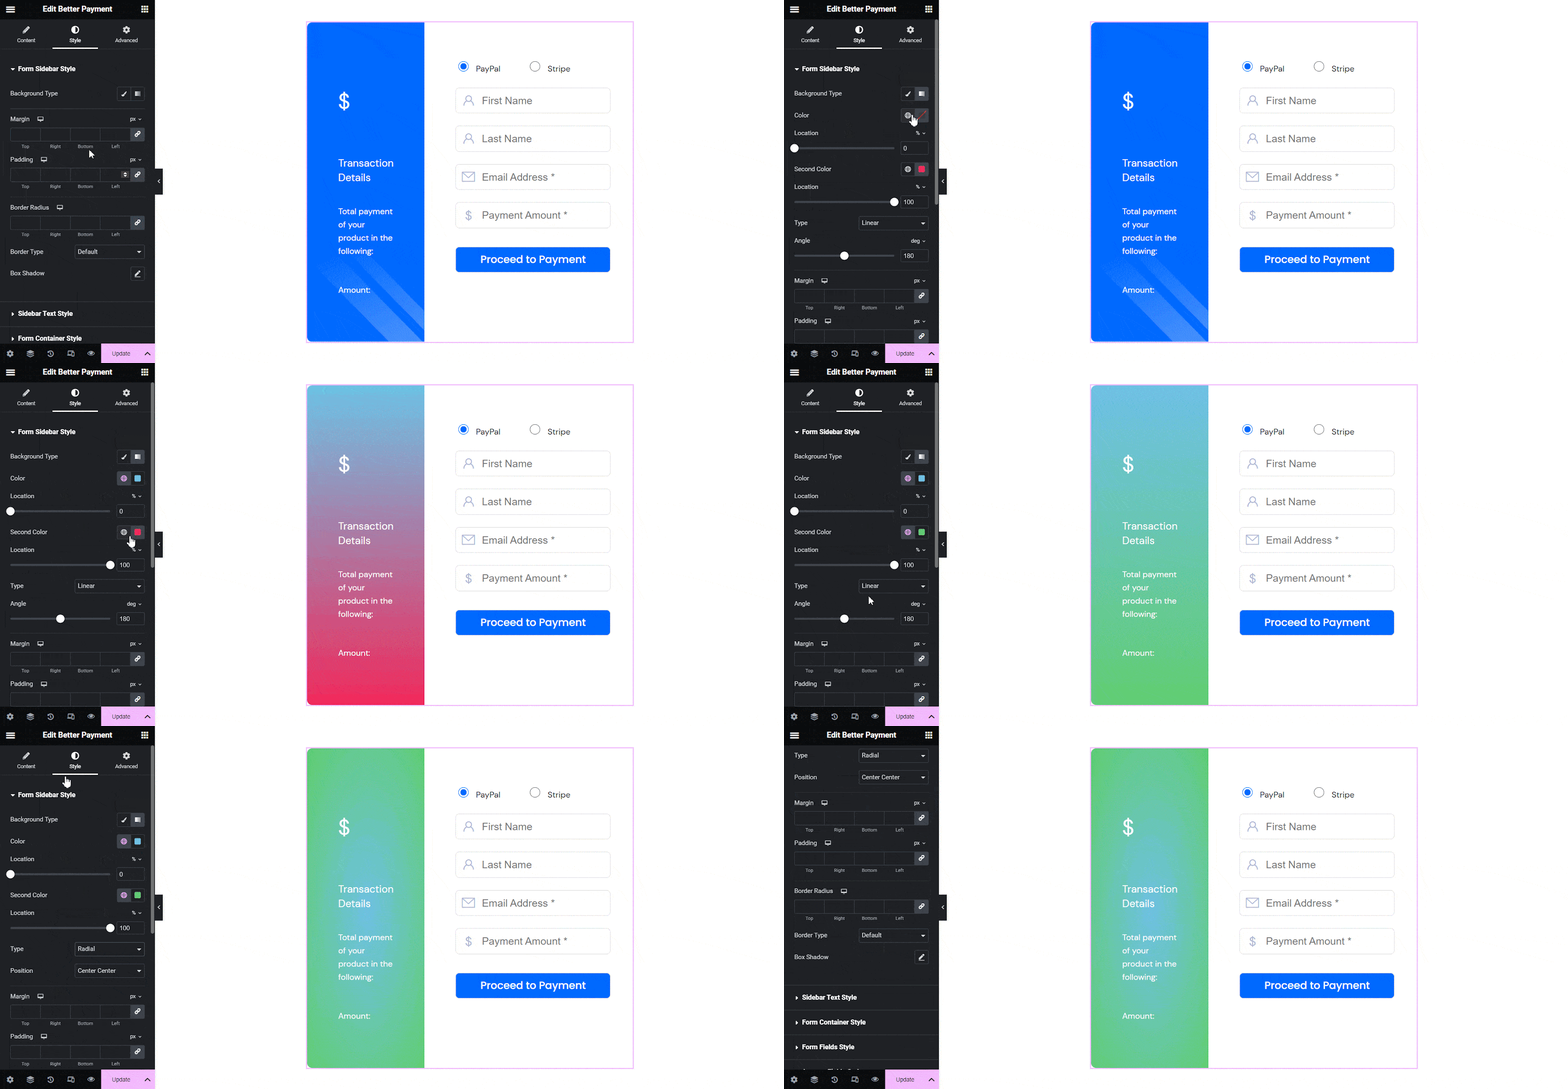
From this ‘Form Container Header Style’ section, you can customize the Background Type and add color, gradients, etc. You also have the freedom to customize the margin, padding, border radius, border type, and box shadow. Just make these changes and design your preferred header style.
3) Form Container #
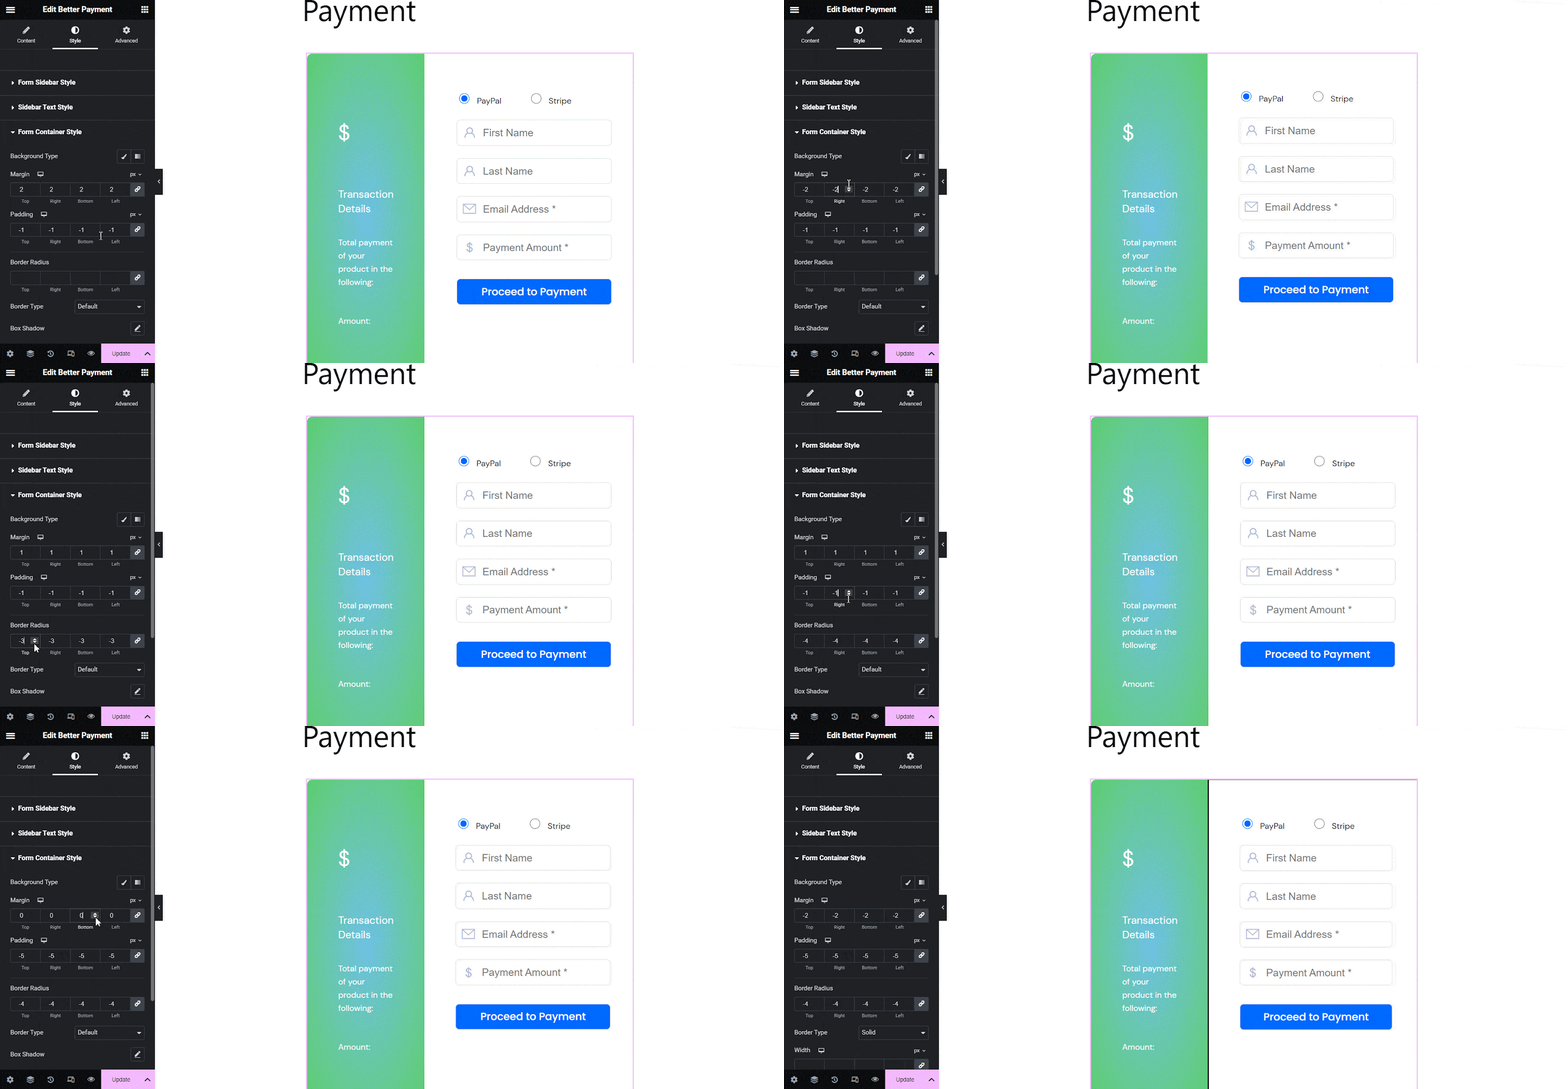
From the ‘Form Container’ section, you can change the background and make adjustments to the margin, padding, form radius, and border type.
4) Form Settings #
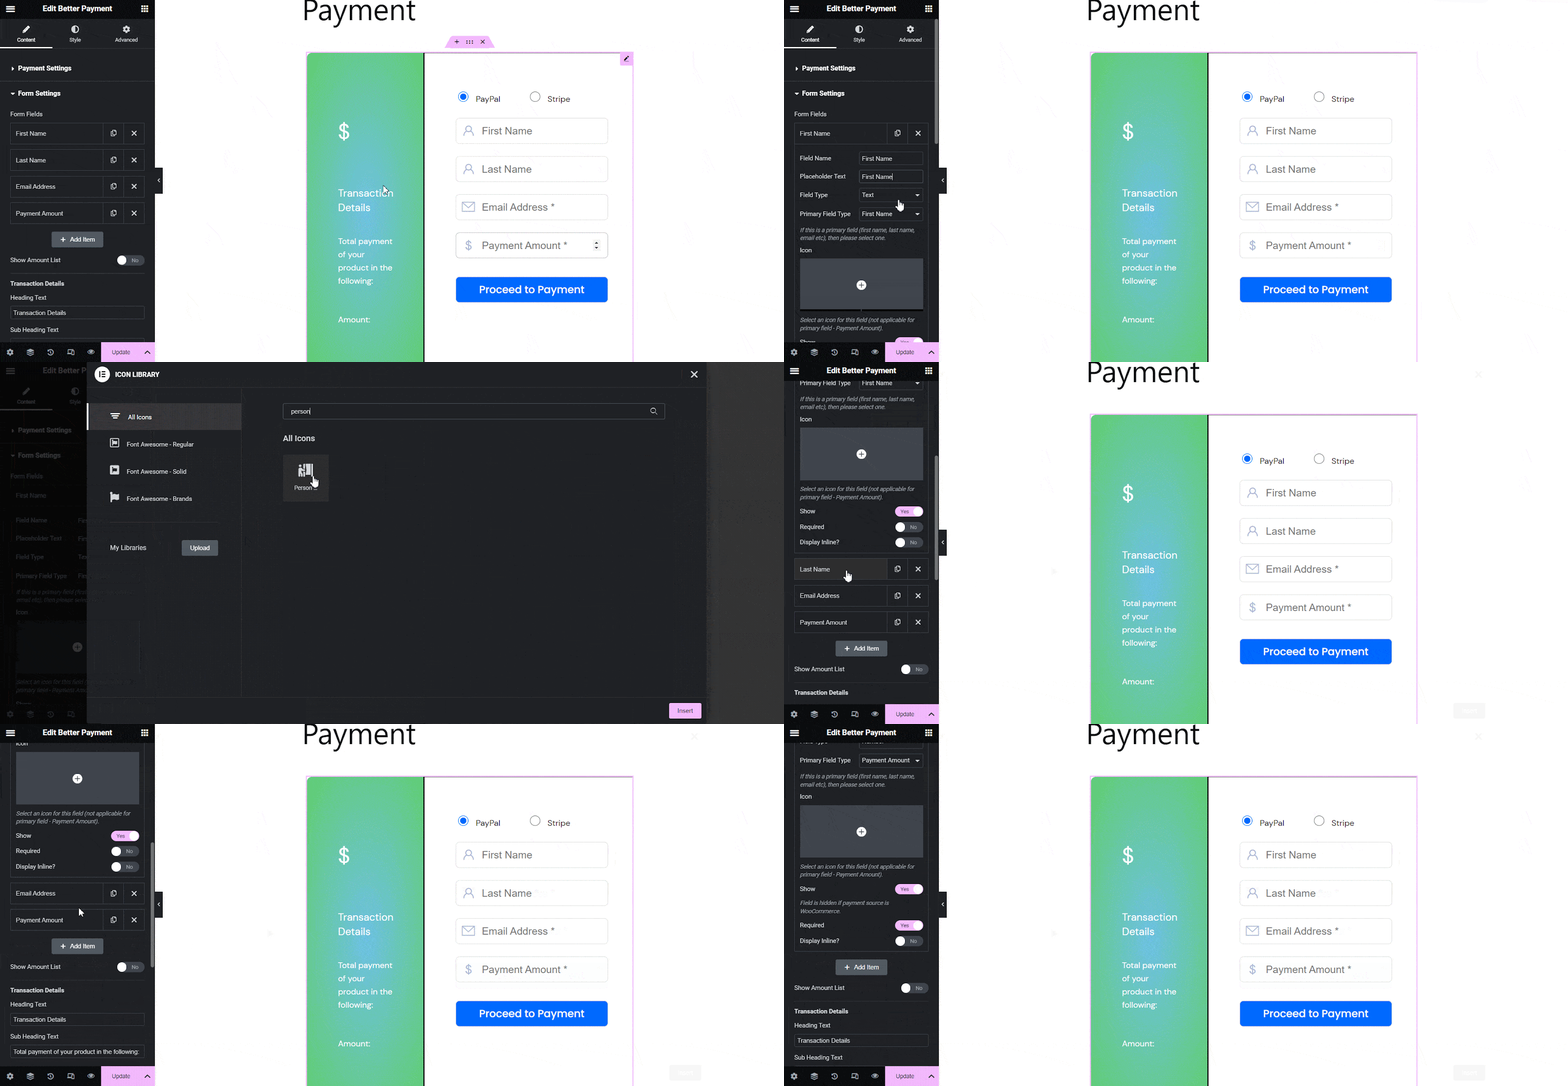
From the ‘From Settings’, you can change the form field’s name, type, icons, and others. You will get full freedom to adjust the form input text and make your checkout eye-catching for your customers.
5) Amount Fields Style #
From the ‘Amount Fields Style,’ you can adjust the width, height, spacing, background color, text color, border type, typography, etc easily. Tweak these options until you are satisfied with the outcome.

6) Form Fields Style #
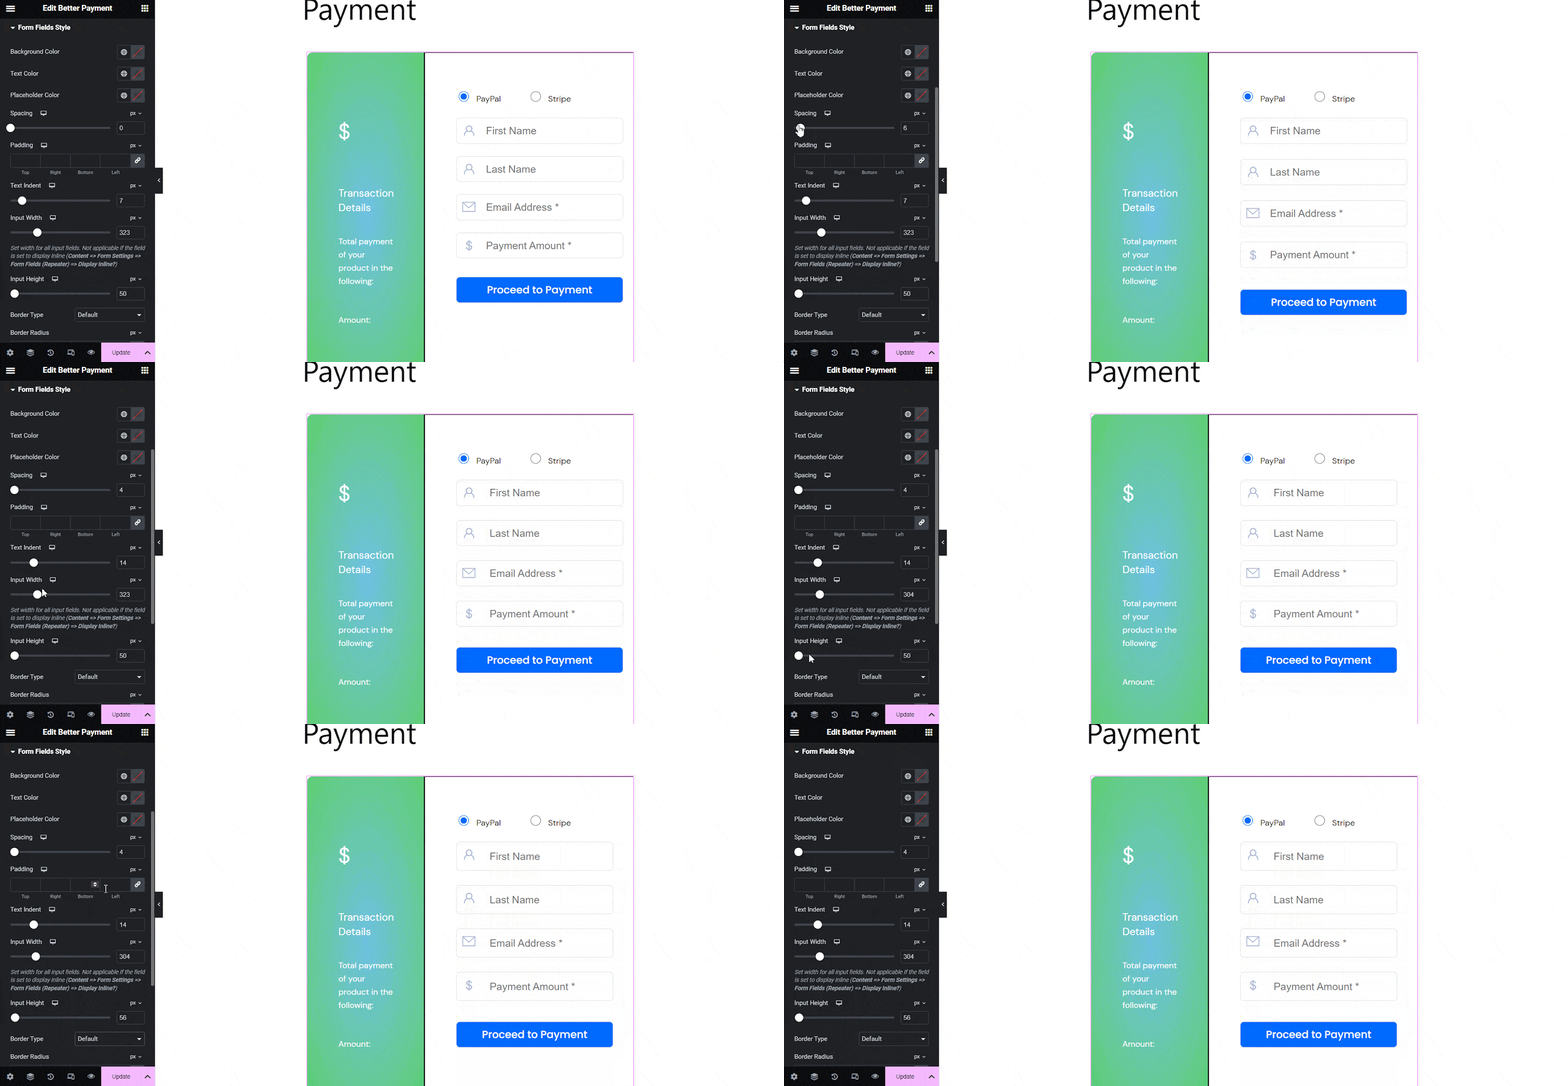
From the ‘Form Fields Style’ section, change the Spacing, Icon Indent, Input Width, Input Height, and more along with the background color and typography options to design a more beautiful form.
7) PayPal & Stripe Options #
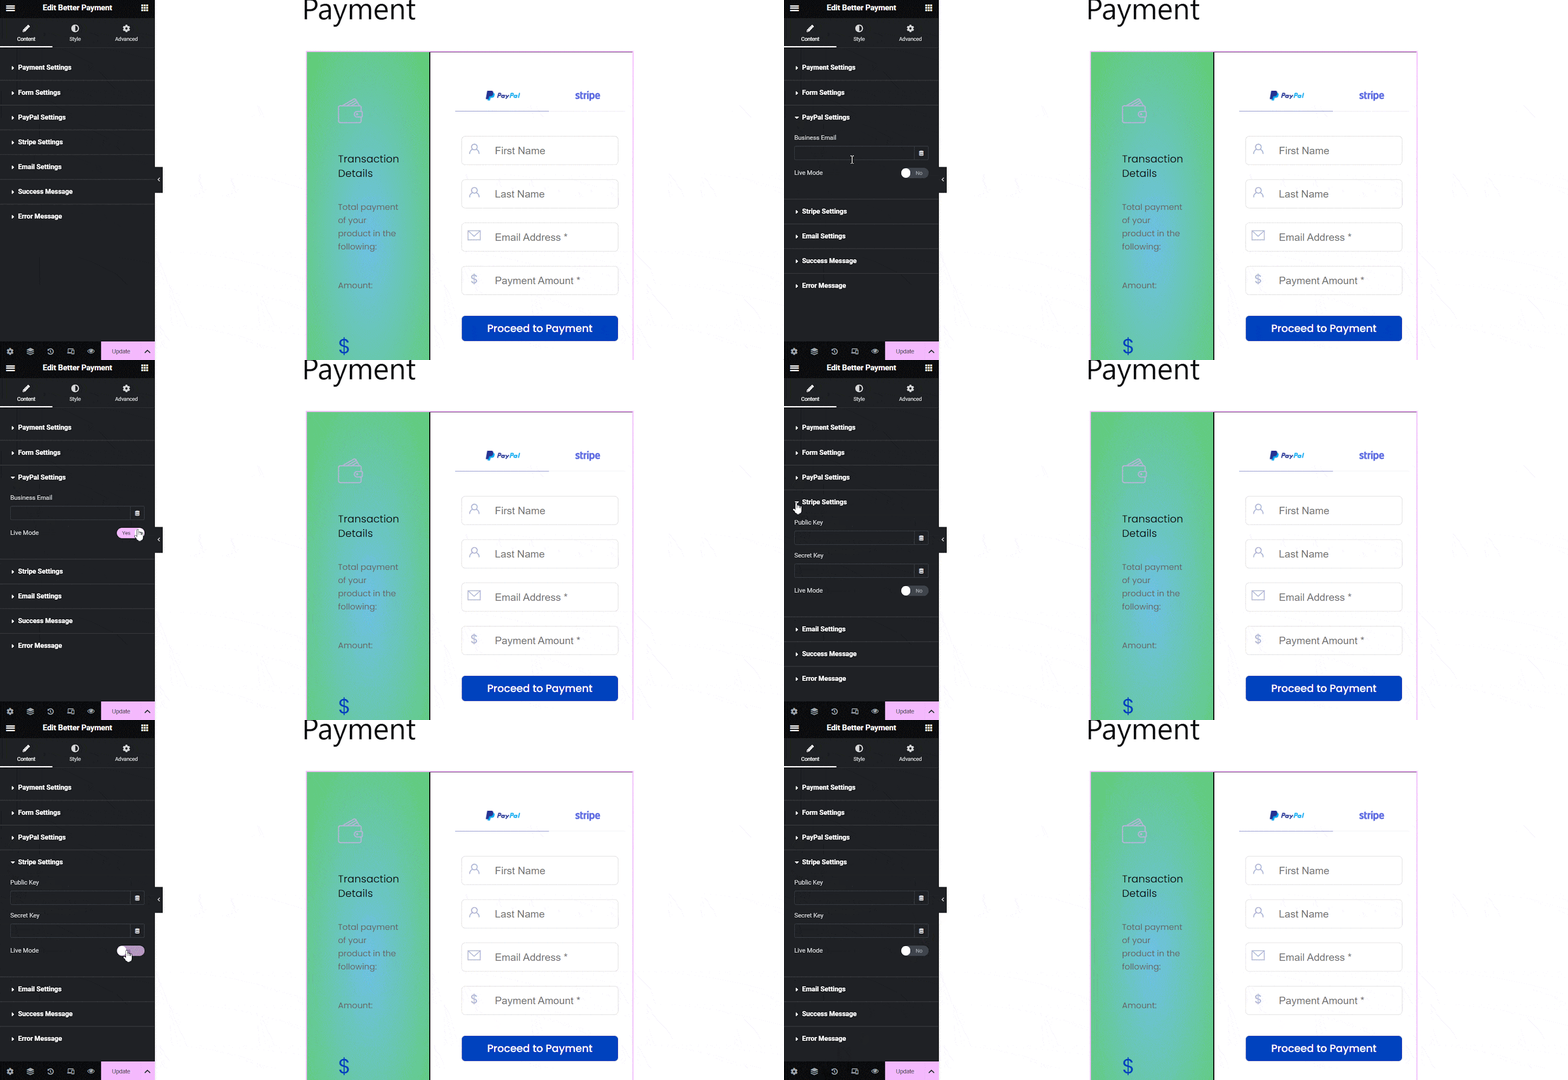
From the ‘Paypal’ and ‘Stripe’ you can set the public key, secret key, and business email ID, and enable the live button to start accepting payments.
8) Email Settings #
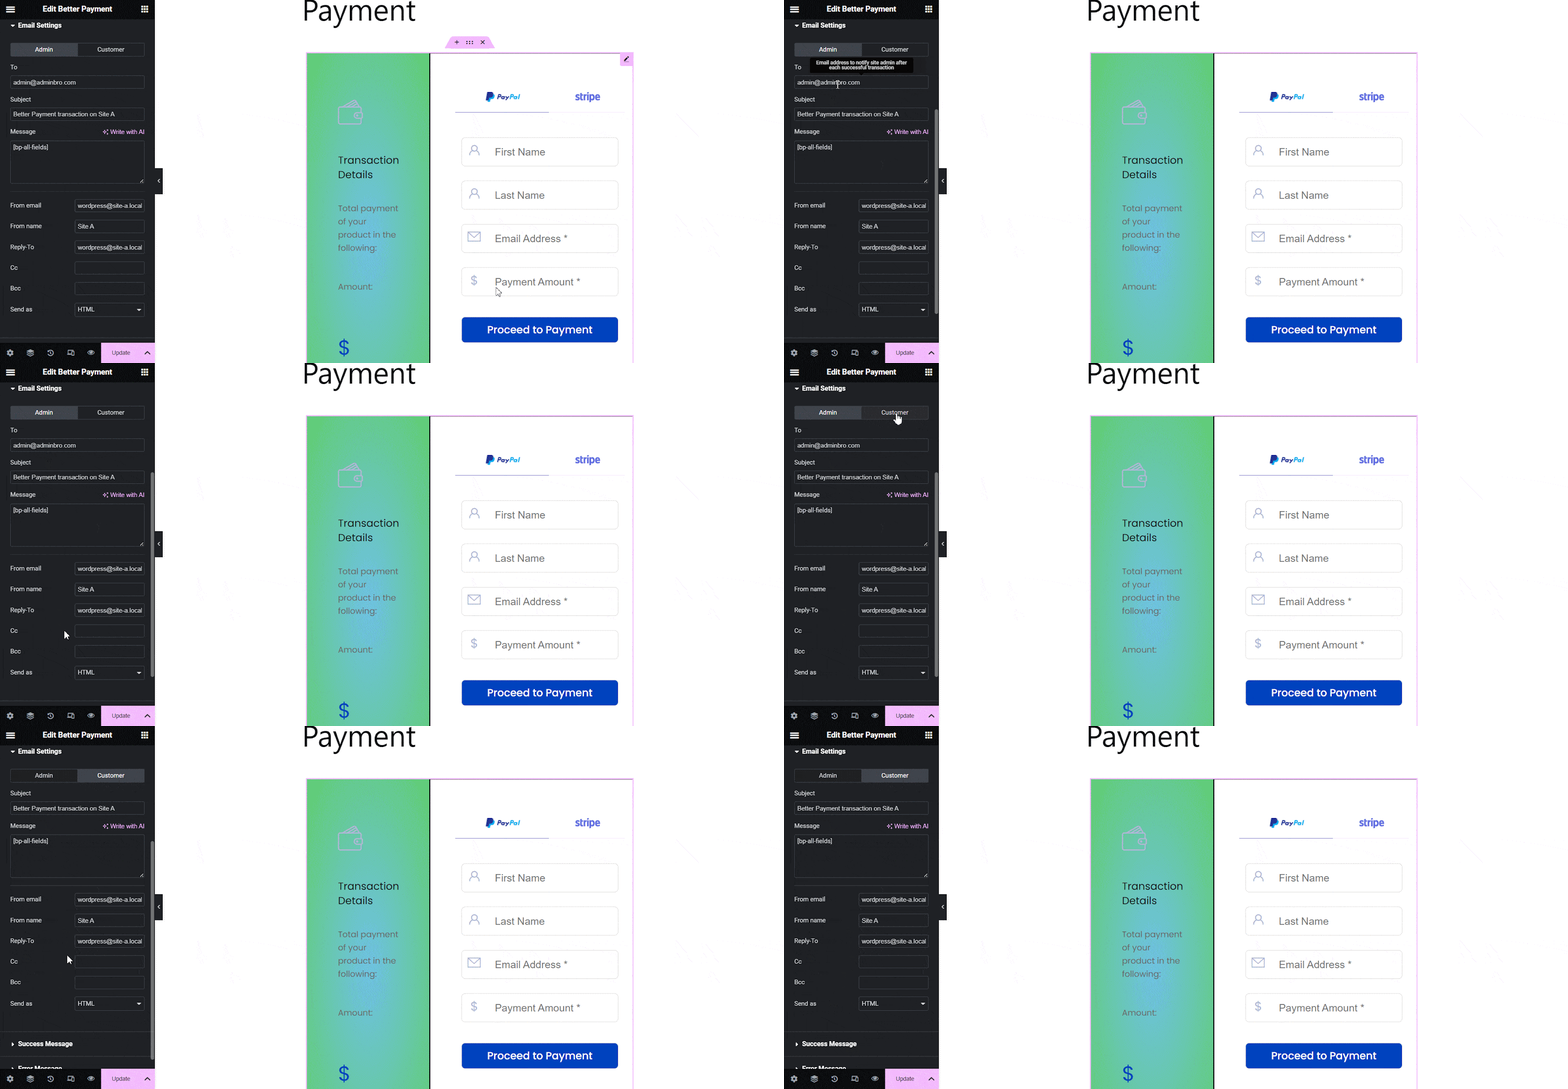
In the ‘Email Settings’ tab, you can set emails both for admins and customers. It has options to add a generic subject, message, email name, address, cc, bcc, and more.
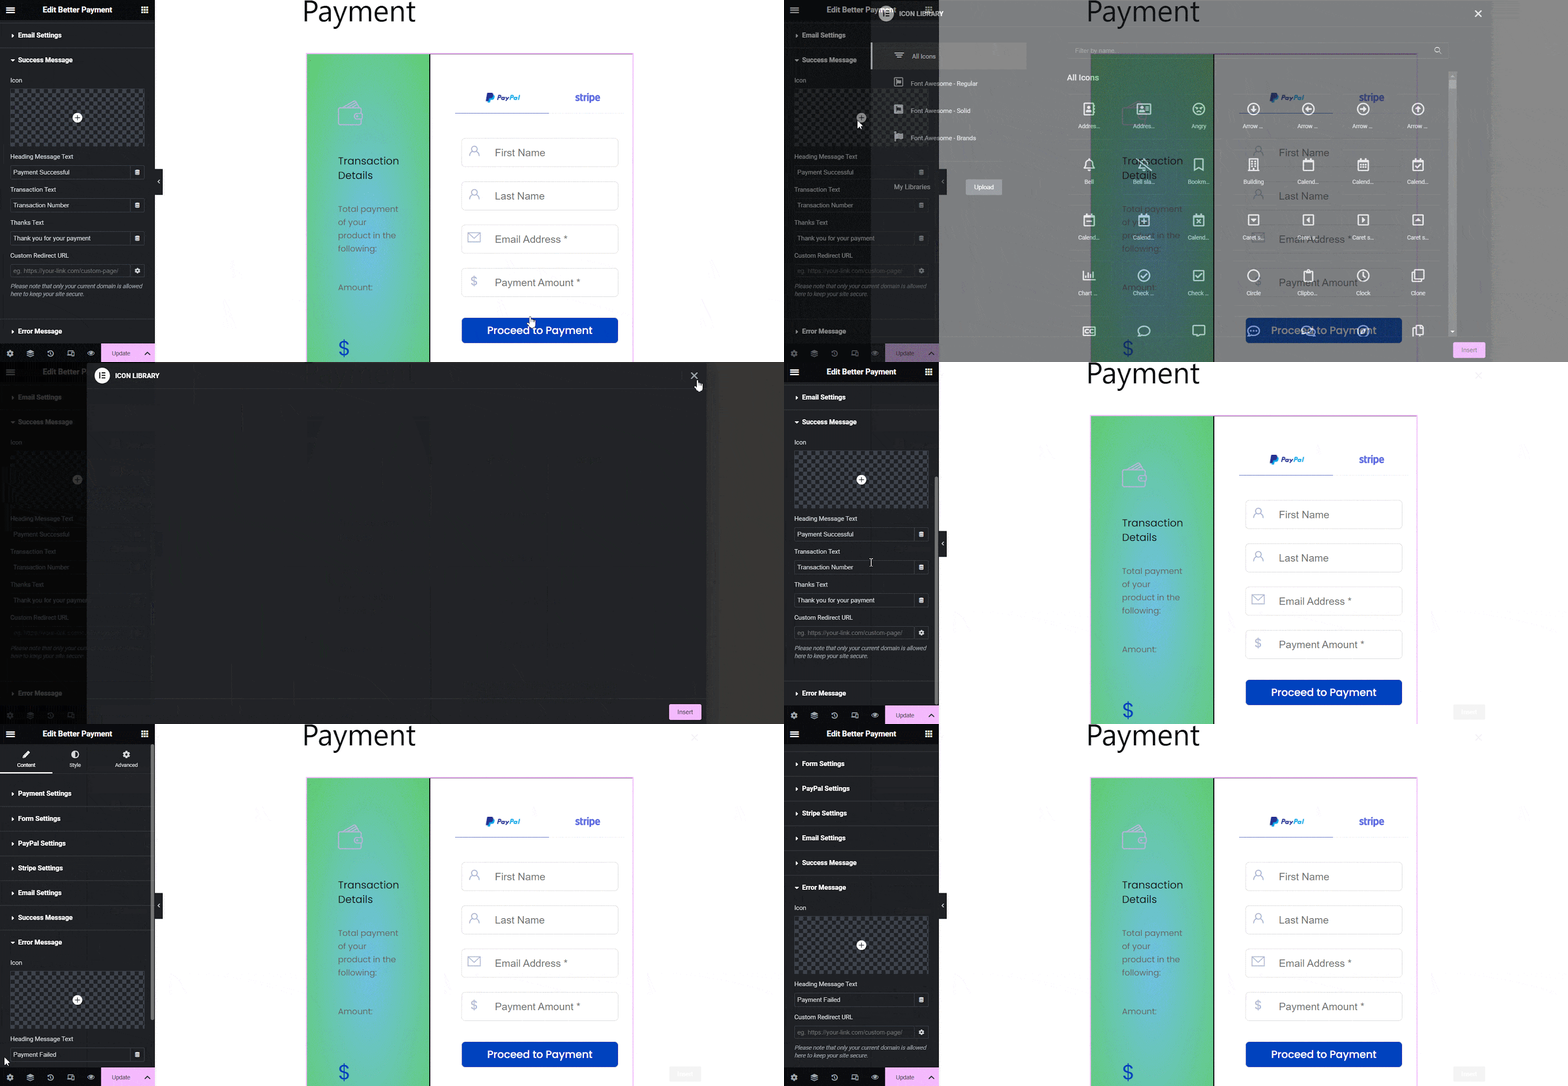
9) Success Message & Error Message #
From the ‘Success Message’ section, you can adjust icon style, heading style, thank you message style, etc, easily. Similarly, style the typography, icon, margin, background, etc, from the ‘Error Message’ section.
Final Outcome #
After styling your payment forms in Elementor and publishing on your website, you will find an outcome like the following image below:

By following this guideline, you can style payment forms in Elementor using the Better Payment plugin for WordPress.
Getting stuck? Feel free to contact our support team for further assistance.


