Better Payment allows you to Split Payment via Stripe to divide subscription fees among multiple installments. This is useful for revenue sharing, cost allocation, payment flexibility and financial management.
Let’s follow the simple step-by-step guidelines below to learn how you can configure Split Payment system into your subscriptions.
Note: You need to have Better Payment and Better Payment PRO installed and activated before you start configuring.
Prerequisites:
- Default Price ID
- Split Payment Installment Price ID
How to Retrieve Price ID From Stripe for Split Payment? #
To configure Split Payment into your Better Payment subscription, you need to retrieve two price ID’s. The first one is the default price ID and the second one is for the Split Payment Installations’ Price ID. Follow this step-by-step process shown below to do that.
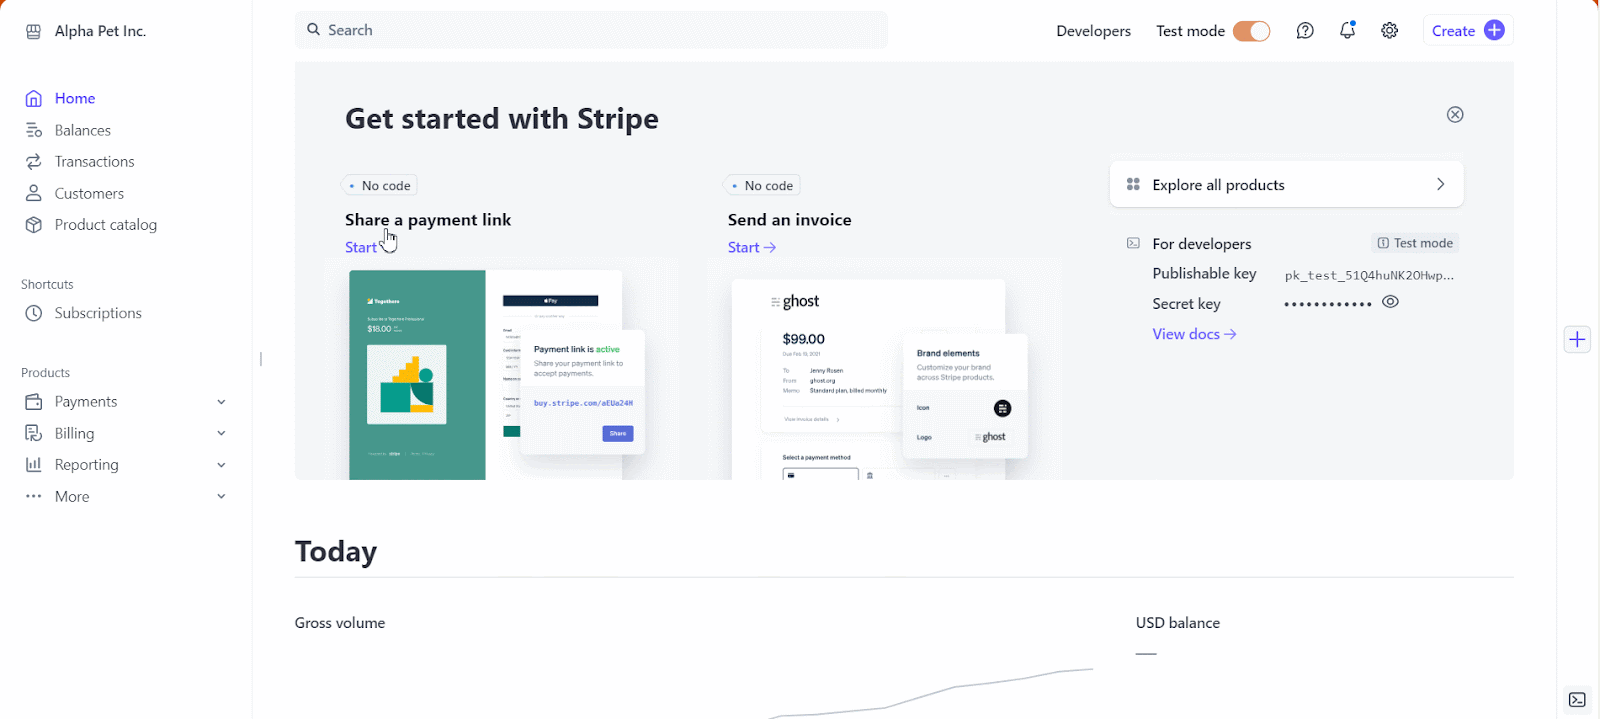
Step 1: Login To Your Stripe Account #
First, go to the Stripe website and login to your Stripe account, and navigate to the Product Catalog tab.
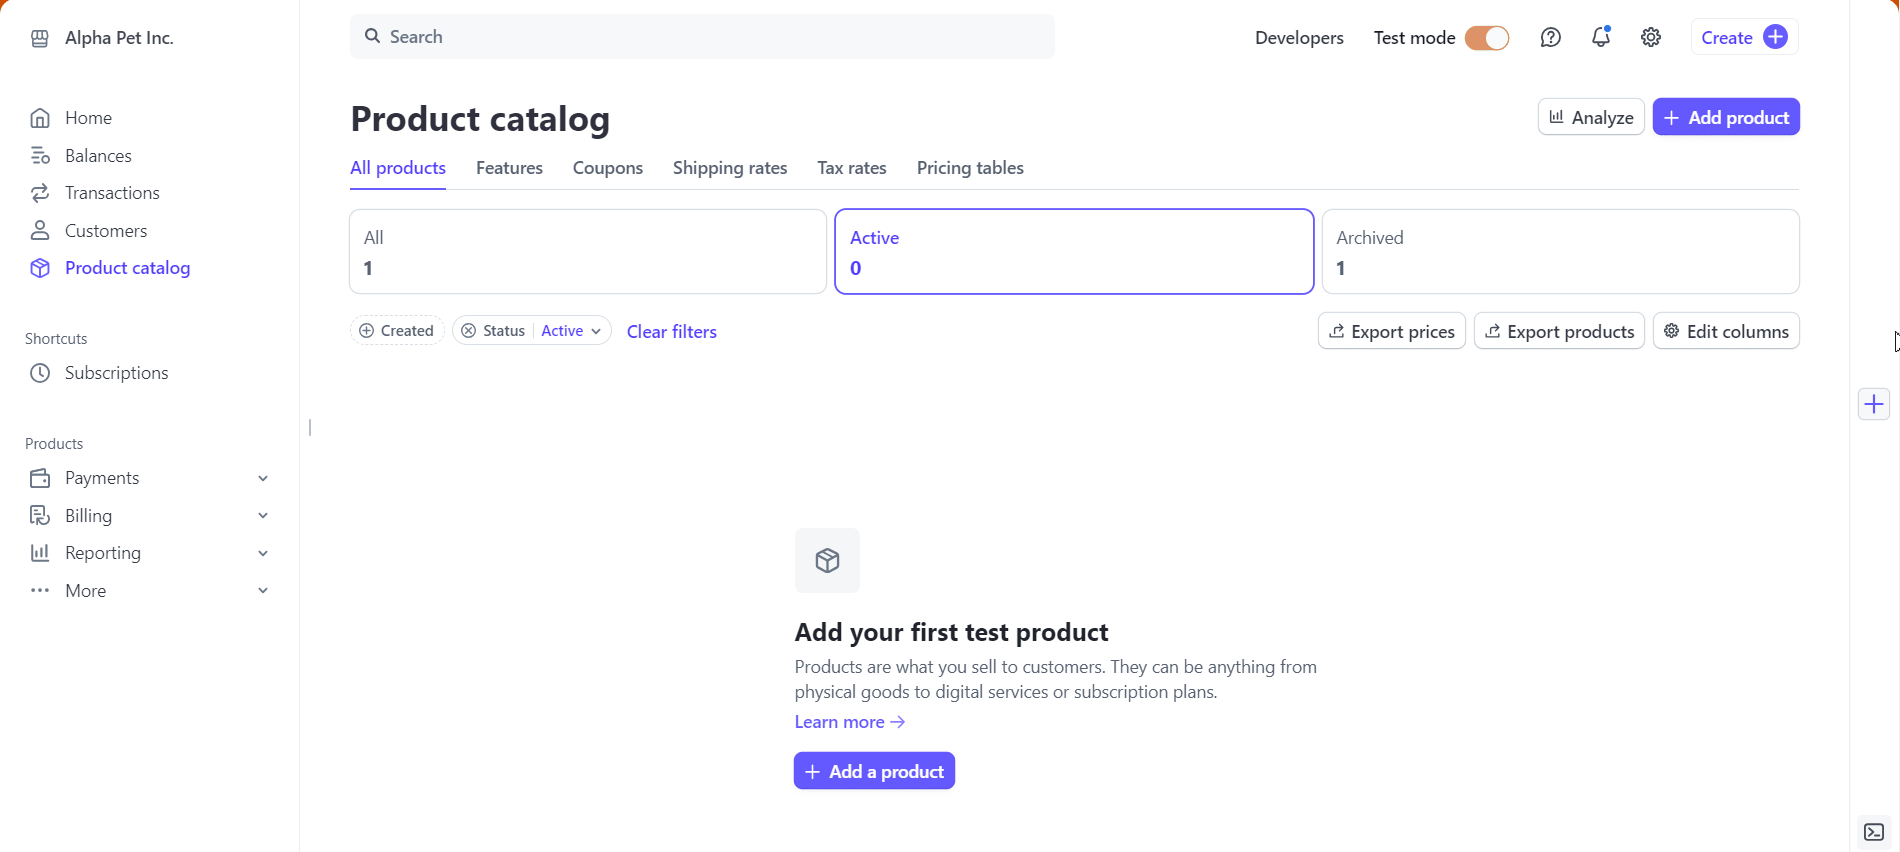
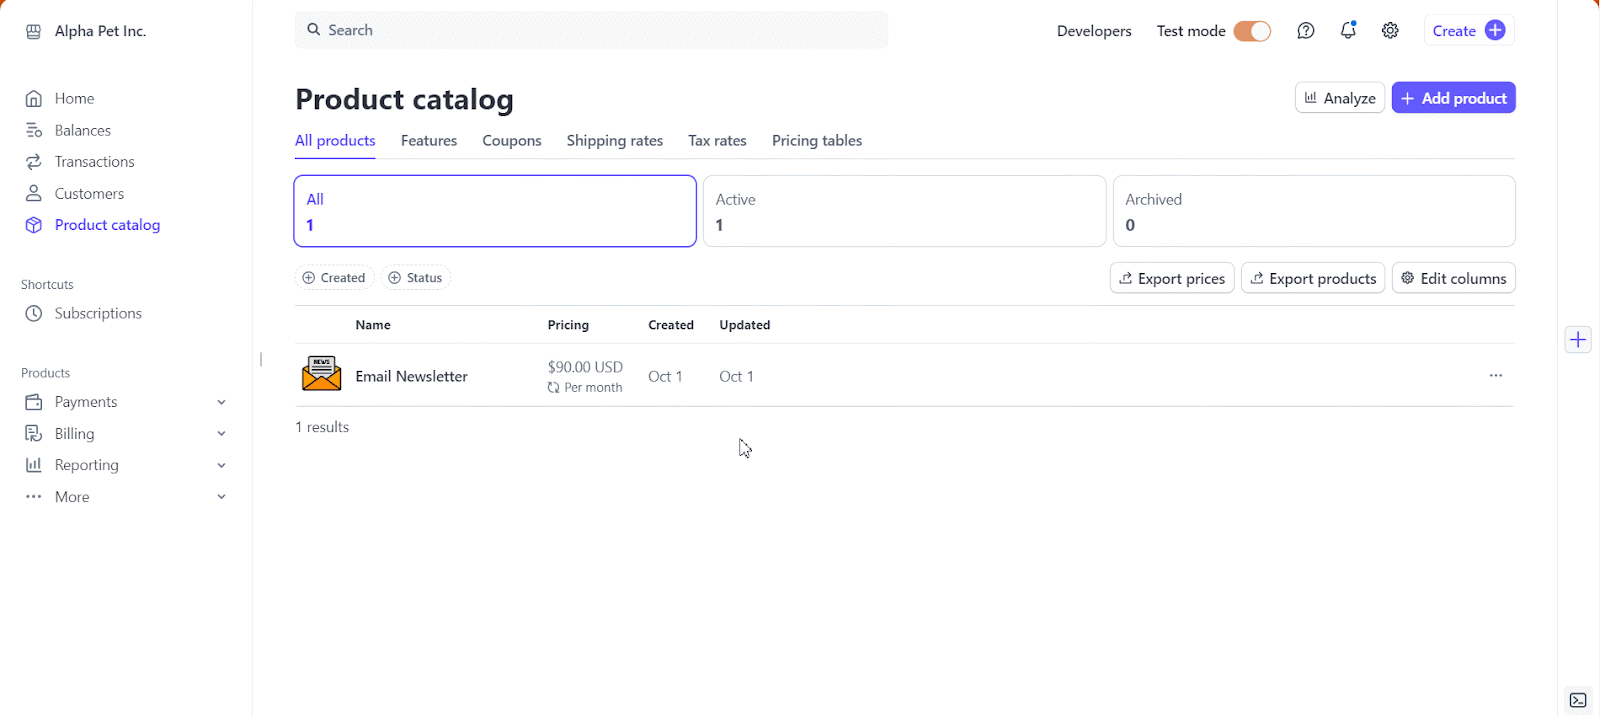
Step 2: Add a Product to Stripe Product Catalog #
Now, click on the ‘+ Add Product’ button and a popup will appear. Here add the product ‘Name’, ‘Description’, ‘Image’, then select payment method ‘One-off’, and now add the default ‘Amount.’ Your product will be added with your set amount.
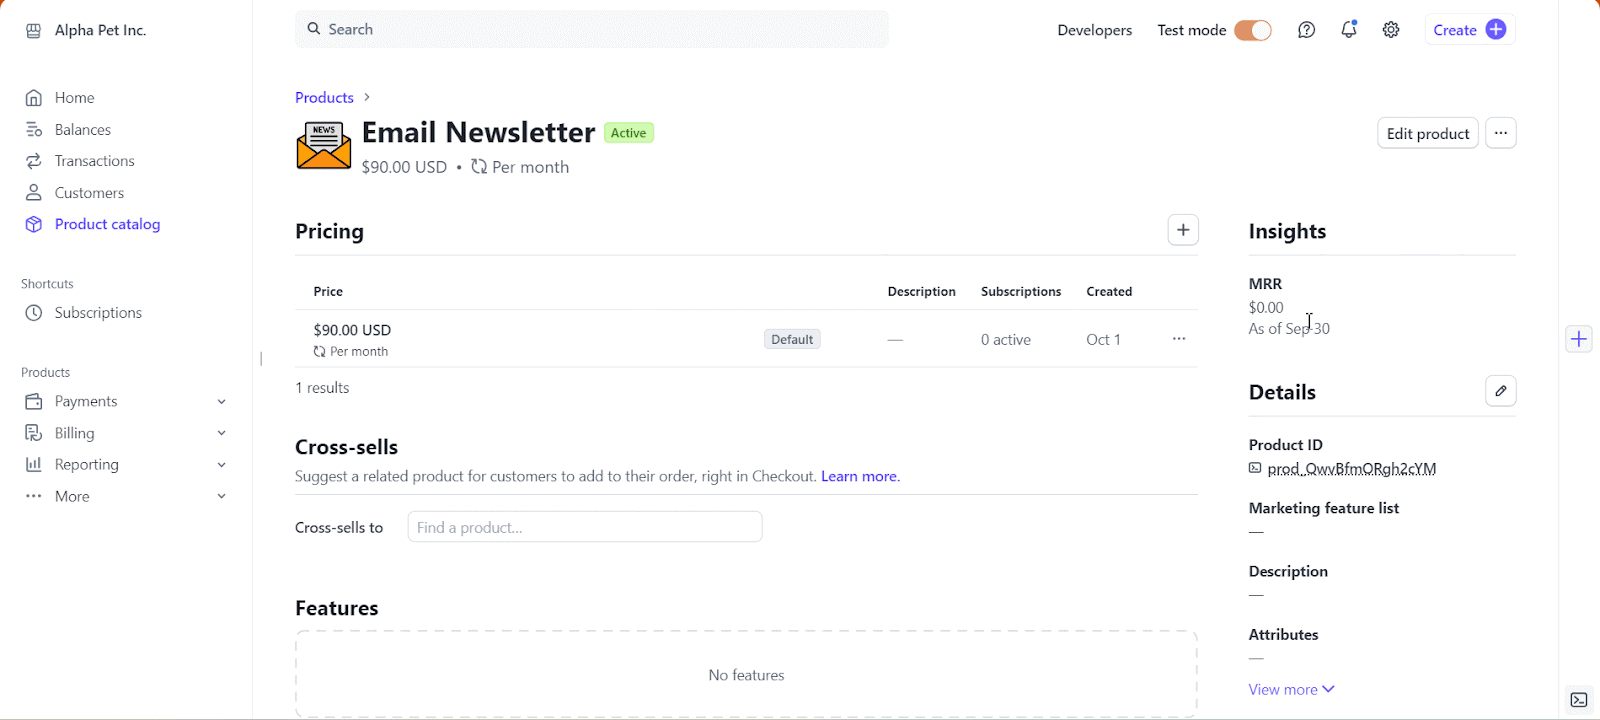
Step 3: Retrieve Price ID #
Choose the default product and click on it. Once you are in click on three dots right beside your default product. From the resulting popup options, click on the ’Copy Price ID’ option to retrieve the price ID of your chosen product.
Step 4: Add Split Price ID and Copy #
Again inside the chosen product click on the ‘+’ icon and like previously choose ‘Recurring’, select Pricing Model, enter Amount required per installation, choose a ‘Billing period’, and hit on the ‘Create Price’ button. Now, click on the new price option copy price ID.
This is how you collect Price IDs from Stripe to configure Split Payment into your Better Payment subscription.
How to Configure Split Payment Using Better Payment in Elementor? #
Let’s follow the steps below to configure your Split Payment using Better Payment in Elementor.
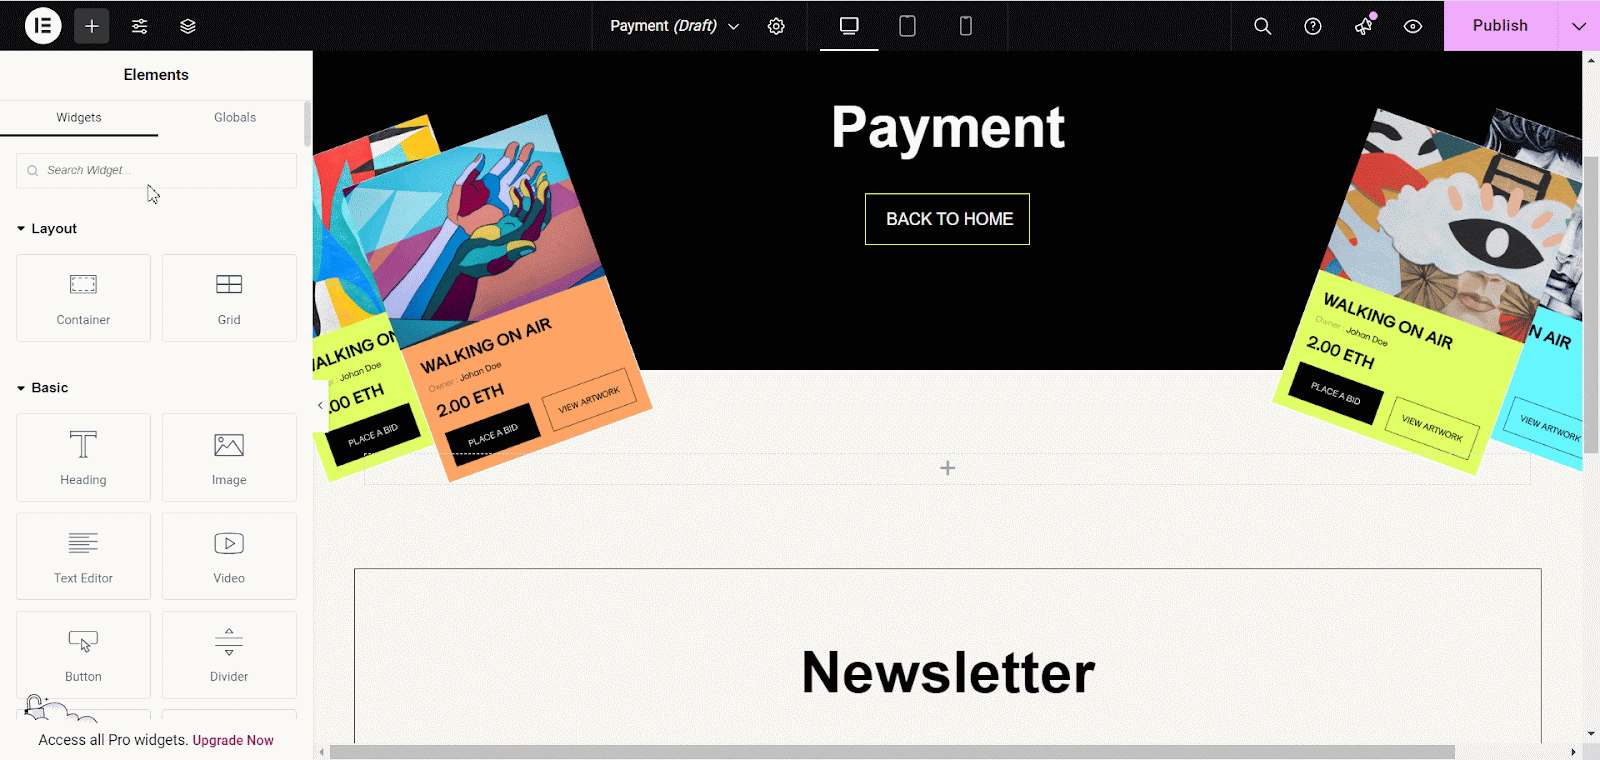
Step 1: Add Better Payment Widget to Elementor #
Search the ‘Better Payment’ element in the Elementor widget gallery. Drag and drop the element into the page where you want to add the subscription form.
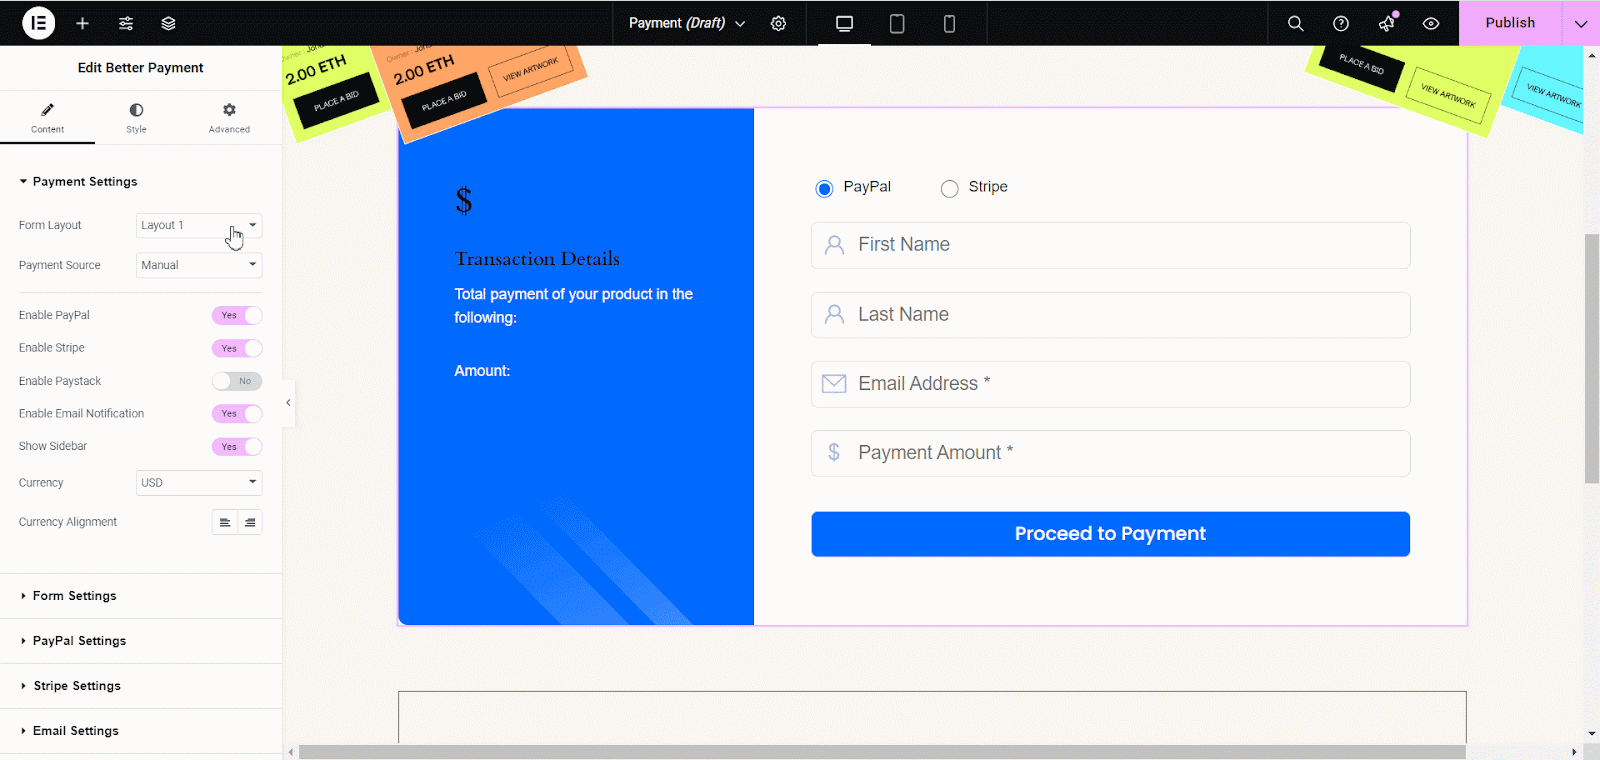
Step 2: Configure Payment Settings #
Under Better Payment ‘Payment Settings’, choose ‘Layout 4 | General’ from the ‘Form Layout Options’ and select ‘Payment Type’ as ‘Split Payment’. In the Price ID section add the default price ID you copied earlier from Stipe.
Step 3: Set Installments and Publish #
Inside the Installments section, choose the installment period you want as the Split Payment option and add the split price ID we created in Stripe and copied. Now, click on the ‘Publish’ button.
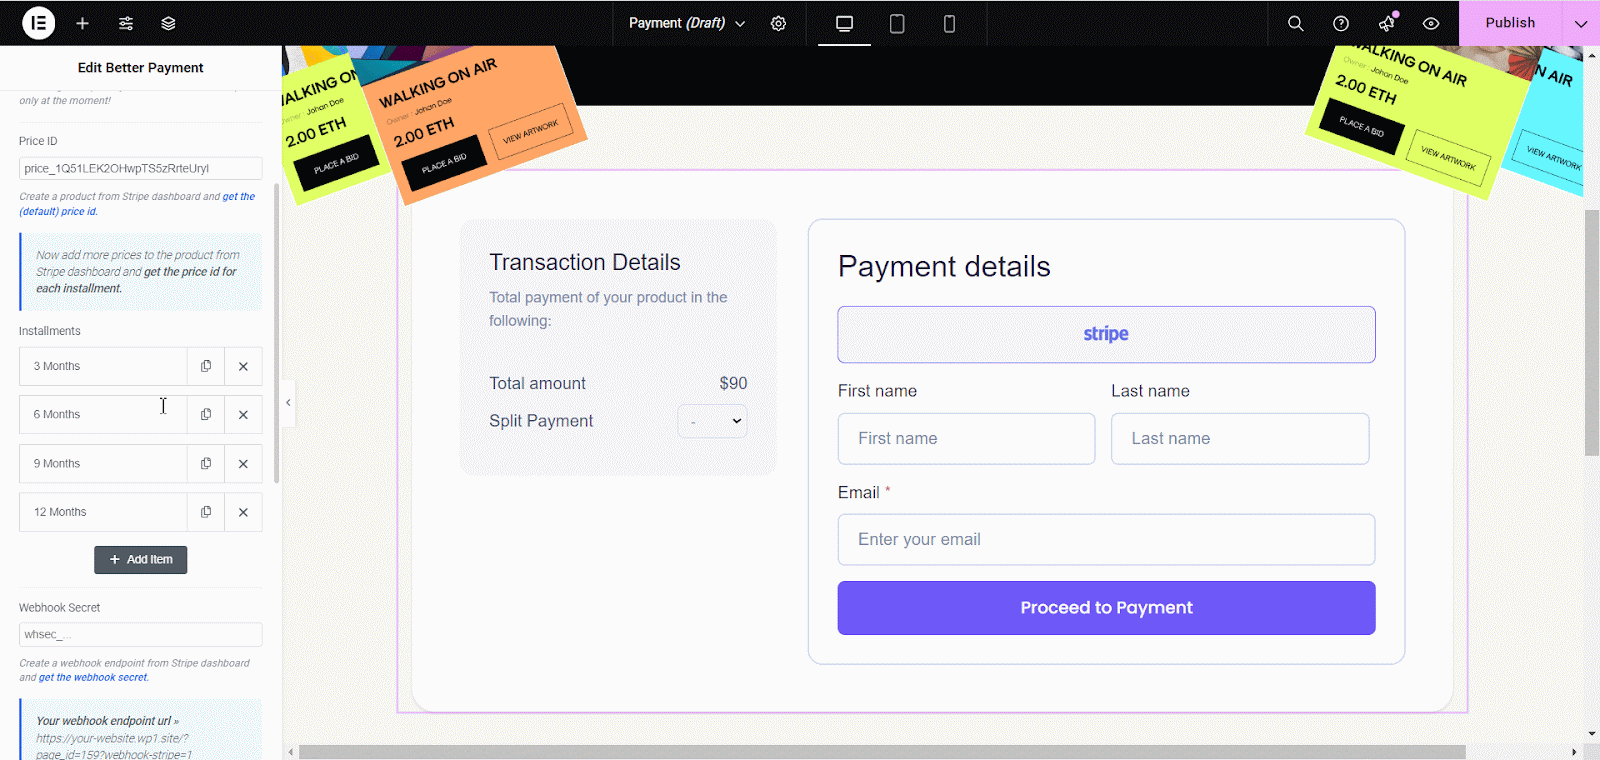
Note: In a single default subscription form you can apply multiple Split Payments just by adding additional split Price ID in stripe and inside the Better Payment form add additional installation Items.
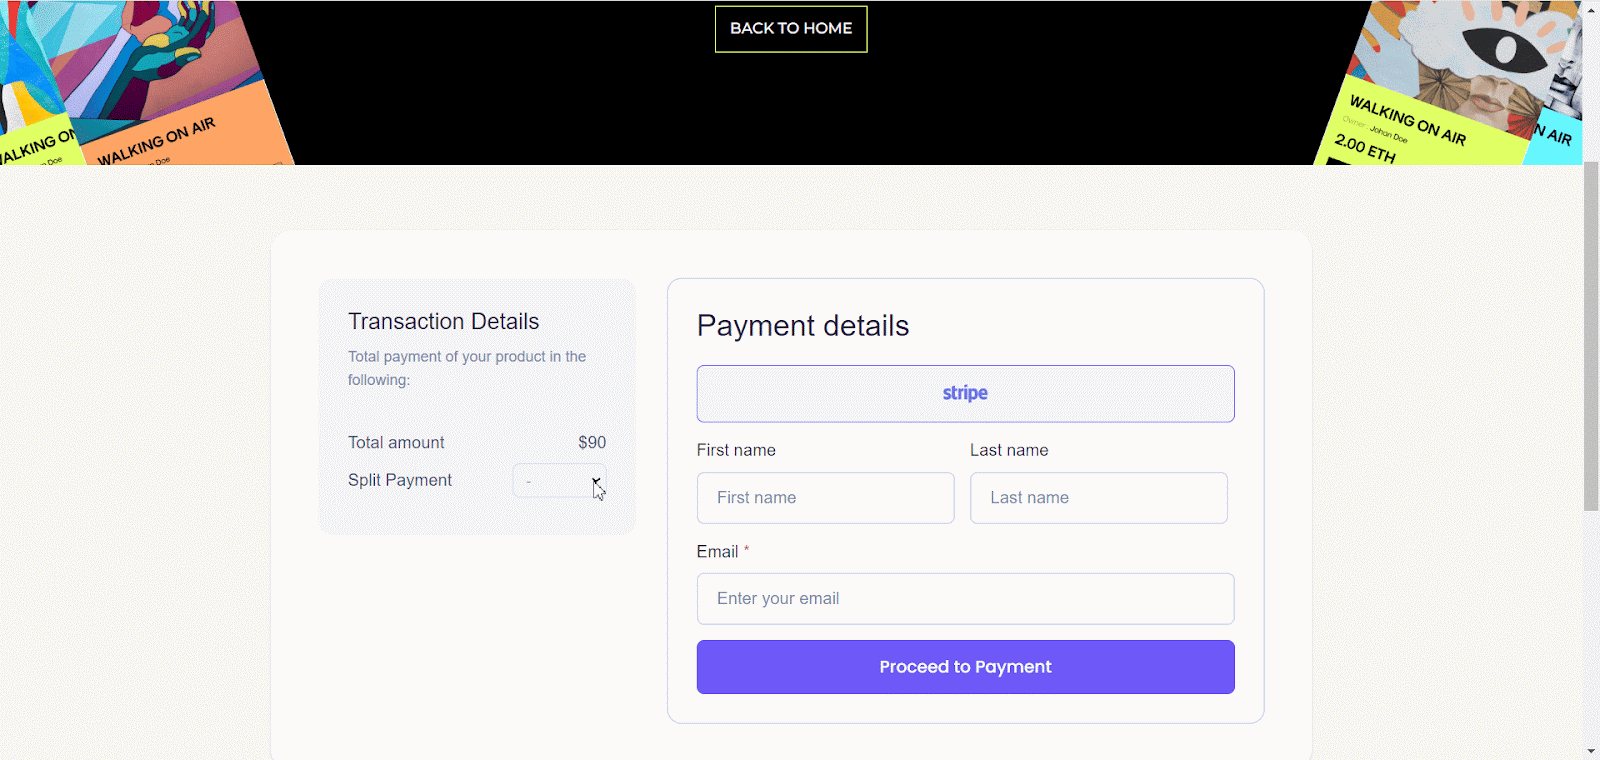
Final Outcome #
This is how easily you configure Split Payment in your Better Payment subscription form in Elementor. Check out the final outcome below.
Related Documents To Check: #
👉 How To Integrate Payment Gateways In Better Payment?
👉 How To Manage Subscriptions Using Better Payment?
Need Assistance? Feel free to contact our dedicated support team for further assistance.