Better Payment offers a Fundraising Campaign widget to manage donations, crowdfunding & more, making it easier for donors to contribute and for organizers to track funds efficiently in Elementor.
Follow this step-by-step guide below to find out how to configure fundraising campaign using Better Payment in Elementor.
Note: You need to have Better Payment Free & PRO installed and activated before you start configuring.
How to Configure a Fundraising Campaign in Elementor? #
Configuring the Fundraising Campaign in Elementor using Better Payment is pretty easy. All you have to do is follow these steps.
Step 1: Get The ‘Fundraising Campaign’ Widget #
First, open a page where you want to add a fundraising campaign. Click on the ‘Edit with Elementor’ button to get started in Elementor. Then search for the Better Payment ‘Fundraising Campaign’ widget and drag and drop it into your page. The campaign layout will be visible instantly.
Once you apply the Fundraising Campaign widget to your Elementor page, you’ll get the 3 different campaign ‘Layouts’ along with the options to configure and style using the ‘Content’, ‘Style’ & ‘Advanced’ sections.
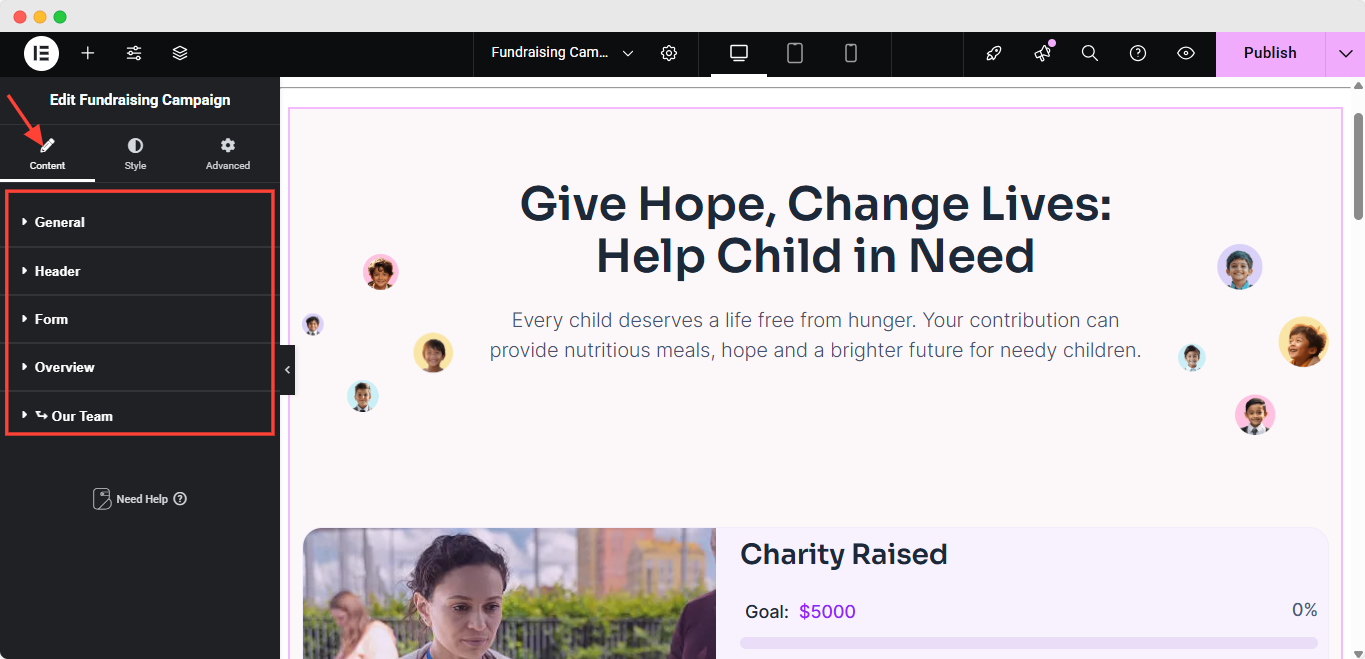
Step 2: Content Settings of Fundraising Campaign #
The content section contains ‘General’, ‘Header’, ‘Form’, ‘Overview’ & ‘Our Team (Only Available in Layout 1)’ options to let you configure your campaign further.
Go to‘General’ tab. Add your ‘Campaign ID’. You must ensure that the ID is distinct, and to begin, Better Payment will generate it automatically. Update the fundraising campaign appearance from ‘Layouts’. Set up the currency from the ‘Currency’ settings option. If needed, you can enable or disable the below sections from your fundraising campaign by toggling: ‘Header’, ‘Form’, ‘Overview’, ‘Our Team.’ options.
Header #
From the ‘Header’ section, you can add your fundraising campaign’s ‘Title’, ‘Subtitle’, ‘Images’ & more. Plus, you have the option to turn on/off these options separately, using the toggle.

Campaign Form #
Under the ‘Form’ section, you can get the ability to customize your donation form & set the pricing the way you prefer. Edit & configure the options of your form ‘Title’, ‘Choose Image’, Goal Amount’s ‘Label’, ‘Amount’, ‘Percentage’, ‘Bar Line’ and ‘List.’ Plus, you’ll get the options to edit your ‘Custom Placeholder Text’ and ‘Button Text.’
Note: In the ‘Button Link’ option, you need to put the payment form page URL that you’ve created separately. Learn how to configure & style the payment form in Elementor using Better Payment
Overview #
The ‘Overview’ section mainly holds the key to configure your campaign’s content & all. The descriptions (top & bottom), mission, goals, images & more of your campaign.
Note: You may see differences in the ‘Overview’ section depending on the ‘Layout’ you select for your Fundraising Campaign.
Team #
Using the ‘Our Team’ option, you can display your campaign team with their images & social profiles. You can add as many Team Members as you wish.
Step 3: Style Your Fundraising Campaign Appearances #
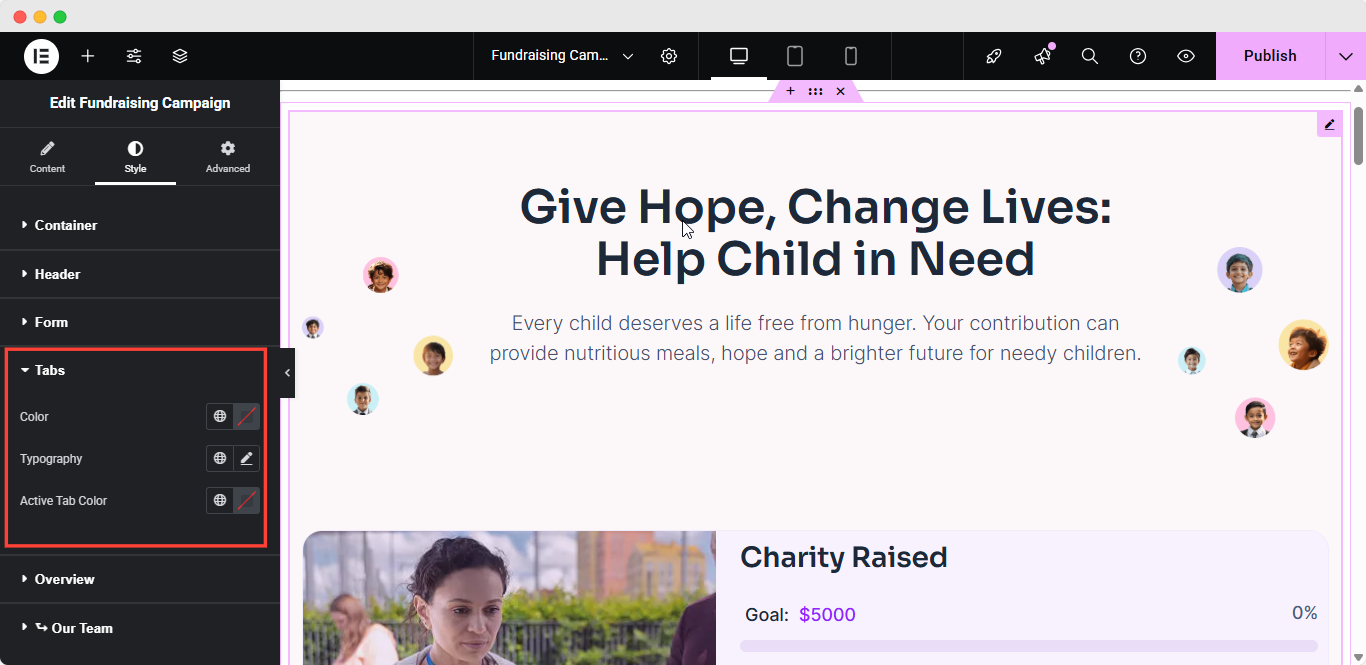
From the ‘Style’ section, you can adjust the ‘Color’, ‘Typography’, Background Color’, ‘Margin’, ‘Padding’ & more of your fundraising campaign’s ‘Container’, ‘Header’, ‘Form’, ‘Tabs’, ‘Overview’, ‘Our Team.’
Under the ‘Tabs’ option, you can set each tab’s ‘Color’, ‘Typography’, & ‘Active Tab Color.’ Moreover, each section can be customized differently.
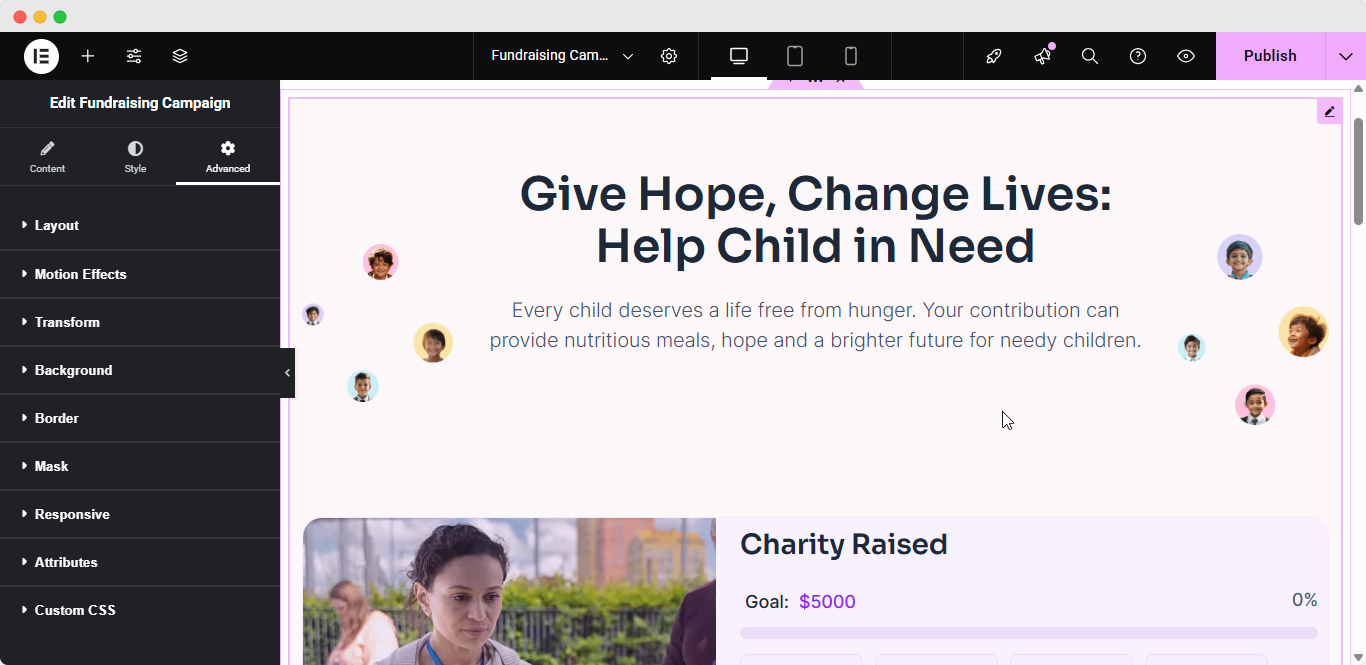
Step 4: Advanced Settings For Fundraising Campaign #
With the ‘Advanced’ settings option, you’ll get more flexibility to style & configure the fundraising campaign. From adding ‘Motion Effects’, ‘Transformation’, ‘Attributes’, ‘Custom CSS’ to adjust the ‘Layout’s’ margin, padding & more, you’ll get all the options you need.
How To Display Related Campaigns In Better Payment? #
In ‘Layout 2’ of the Fundraising Campaign widget, you’ll get an extra option of adding ‘Related Campaigns’ within the main campaign. You can turn the toggle off if you don’t want to display the ‘Related Campaigns.’
Under the ‘Content’ tab, click on the ‘Related Campaigns’ section to add as many campaigns related to your main campaign as you wish. To do so, click on ‘Add Item’ below the ‘Campaigns’ option, put the ‘Campaign ID’, & you’re done. Plus, you can add ‘Sub Title’ for your related campaign.
Final Outcome #
As we explored ‘Layout 1’ above, here’s the outcome of how it looks like after all the style & configuration.
By following this guideline, you can easily configure the Fundraising Campaign in Elementor using the Better Payment.
Getting stuck? Feel free to contact our support team for further assistance.