A well-designed membership subscription form is key to guiding users seamlessly from interest to conversion. With Elementor, you have the flexibility to create and customize every aspect of the form, from layouts and styling to fields and user flow; all without writing a single line of code.
But the real secret to turning your membership subscription form in Elementor into up and running with all the things needed lies in integrating the right tools that ensure smooth and secure transactions for both one-time payments and recurring subscriptions.
In this detailed guide, we will walk through how to design a high-converting membership subscription form in Elementor, how to structure it effectively, and how to integrate payments seamlessly.
Why a High-Quality Membership Subscription Form Matters
Your membership subscription form is the first interaction users have with your onboarding process and it plays a massive role in whether they complete the signup or abandon the page. A well-designed form removes friction, builds trust and ensures the signup feels easy and secure.
When your form is clean, intuitive, responsive and visually appealing, users feel more confident about subscribing. On the other hand, unclear layouts, too many fields or poor mobile design can drastically hurt conversions.

However, Elementor gives you immense creative freedom and when paired with Better Payment, the best Elementor payment form, it allows you to create a fully functional subscription experience inside WordPress without any custom code.
Understanding the Essentials of a Subscription Form in Elementor
Before you start building, it is important to understand what a good membership subscription form should include. The goal is to collect only the information you truly need while keeping the user experience smooth and focused.
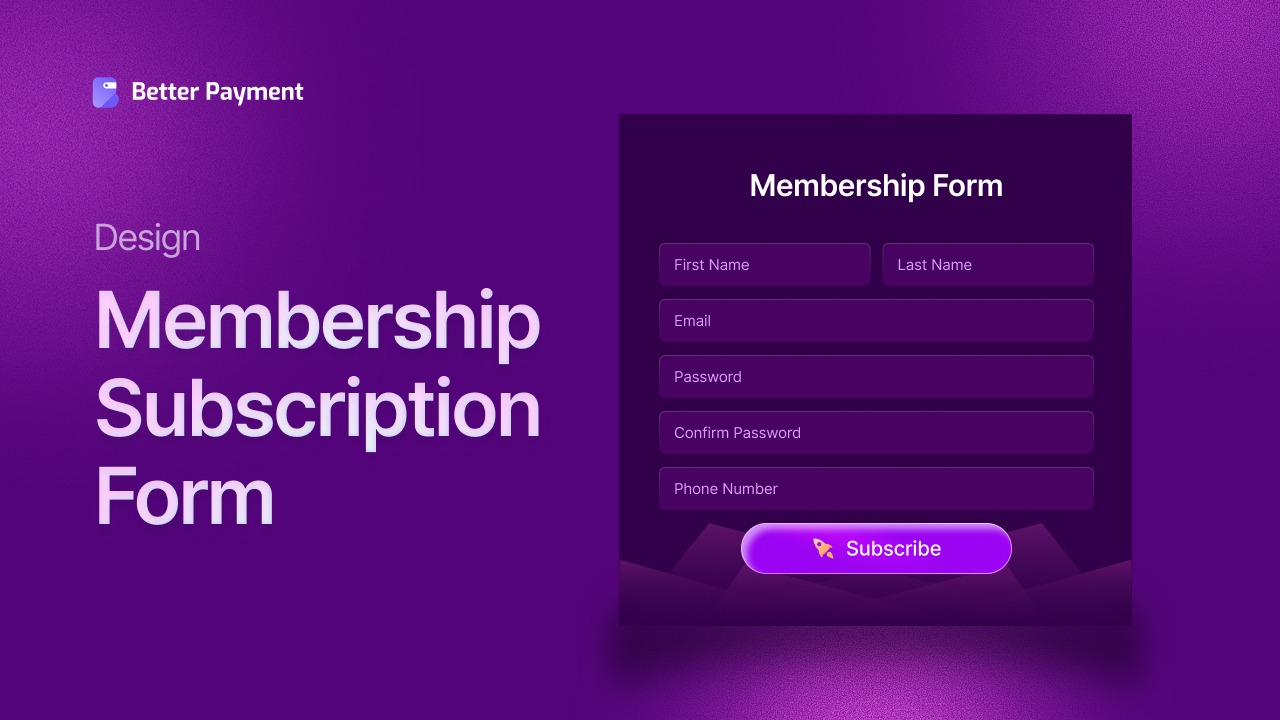
A standard membership subscription form includes fields like the user’s name, email address, login password, selected membership plan, and payment information. With Elementor, you can structure these fields in a visually appealing way using columns, spacing, color accents and typography. This helps guide the user’s eye and makes the form easy to complete.
Another essential element is clarity. Your form should clearly present available membership plans, their pricing and the benefits included. Helpful descriptions and visual cues like badges or highlights make it easier for users to compare plans.
However, you need the right tool to take advantage of Elementor’s flexibility. This is where Better Payment comes in. This is a powerful online payment solution that handles one-time payments as well as recurring subscriptions.
Better Payment supports multiple payment methods, making transactions secure and easy. As a result, both businesses and customers have a smooth, reliable payment experience.
Now, let us look at how you can use Better Payments in Elementor to create a membership subscription form.
How to Create a Membership Subscription Form in Elementor Using Better Payment (Step-by-Step)
With Elementor and the Better Payment plugin, you can effortlessly build a powerful membership subscription form. Follow our comprehensive guide to set up payments and offer your users a smooth sign-up experience.
Step 1: Install And Activate Better Payment Plugin
To begin, ensure that you have the Better Payment plugin installed and activated on your WordPress site. To do this, navigate to your WordPress Dashboard and go to Plugins > Add New.
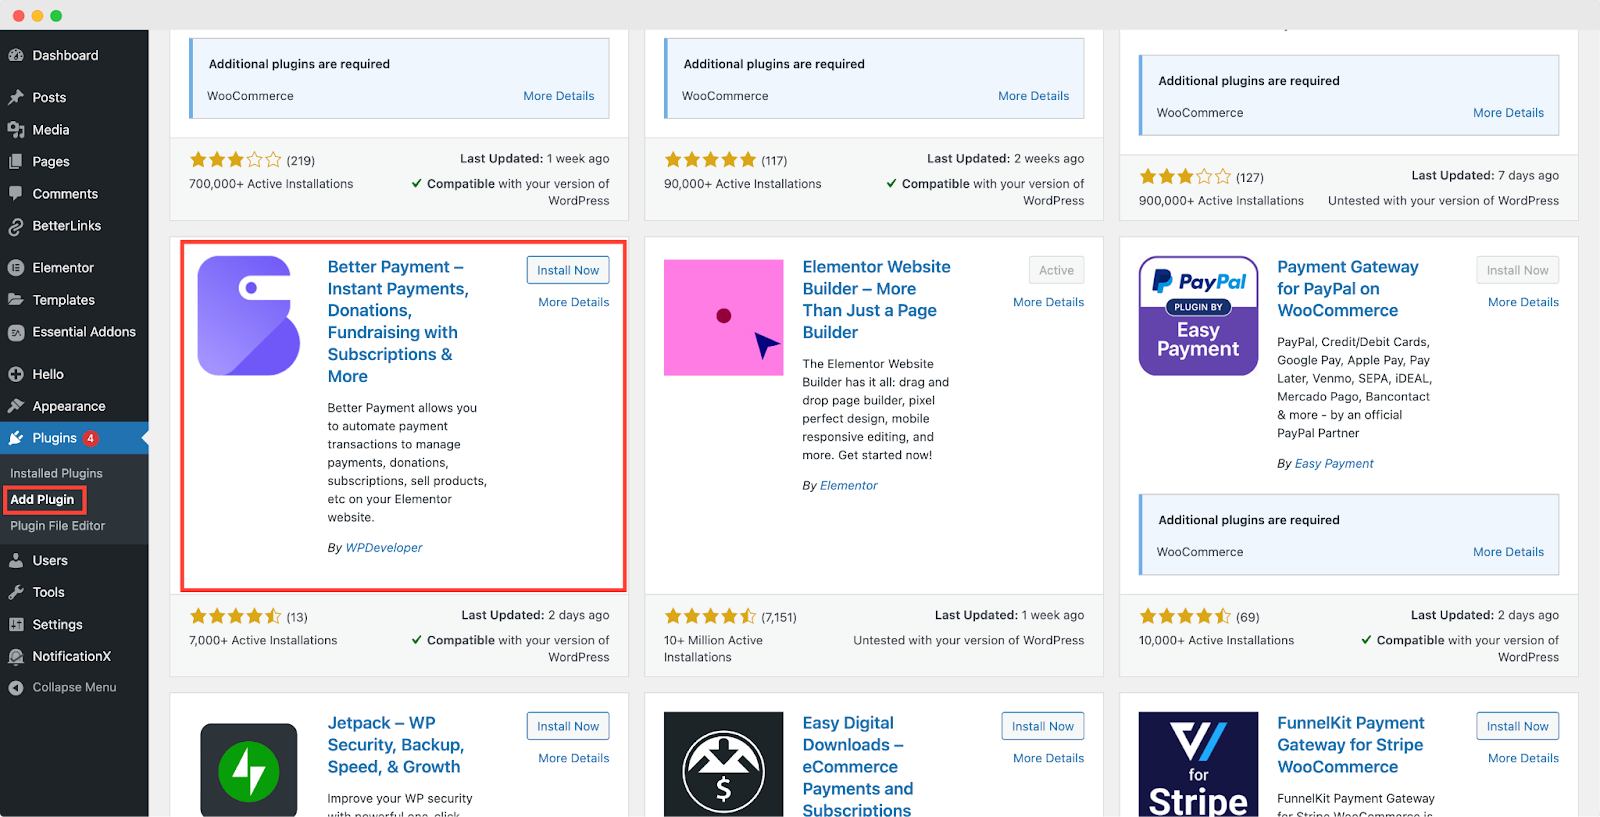
In the search bar, type ‘Better Payment,’ and once the plugin appears in the search results, click Install Now, then Activate. With the plugin activated, you will be able to access its settings and functionalities.
Step 2: Set up Payment Gateway Integration
After activating the Better Payment plugin, the next step is to connect a payment gateway to process your membership subscriptions.
In your WordPress Dashboard, navigate to Better Payment > Settings. Here, you can choose your preferred payment gateway, such as Stripe, PayPal or Paystack. Depending on your choice, you will be required to enter API keys or login credentials to integrate the gateway.
This step ensures that all payments made through the subscription form will be securely processed via the selected gateway.
Step 3: Create a New Page in Elementor
Now that your plugin is set up, the next step is to create the page where your membership subscription form will be located. Navigate to Pages > Add New from your WordPress dashboard. You can either create a new page or edit an existing one.
Once you have selected your page, click Edit with Elementor to launch the Elementor page builder. This allows you to start designing your membership page.
Step 4: Add the Better Payment Widget to Your Page
Once inside the Elementor editor, once you search, you will see the Payment Form Widget available on the left-hand sidebar. If the plugin is correctly installed and activated, it will appear in the widget list.
Simply drag the Better Payment Form widget from the sidebar onto your page where you want the subscription form to appear. This widget will allow you to integrate all necessary payment fields and plan options for your membership form.
Step 5: Customize the Subscription Form
With the widget added to your page, you can now begin customizing the subscription form. Start by editing the form fields to suit your needs. You can include a membership title such as “Join Our Membership” and a description highlighting the benefits of subscribing, as shown below.
Additionally, the Payment Form widget will allow you to add payment details such as credit card fields or a PayPal button, depending on your integration. The form can also be tailored to include pricing details, renewal periods, and other relevant membership options.
Step 6: Customize Success and Error Messages
After users complete their membership subscription, it is important to provide them with a clear confirmation. Using Success Message, you can configure a thank you message that will appear after a successful payment.
This can include a message like “Thank you for subscribing! Your membership is now active.” You can also direct users to a thank-you page, where they can access exclusive content or information about their membership.
Additionally, you can set up an automated email confirmation to be sent to the user using the Email Settings, detailing their subscription plan, payment receipt and any other membership-related information.
Step 7: Style the Form for Your Brand
Elementor provides extensive customization options for styling the form to match the design of your website. By clicking on the Style tab in the Better Payment Form widget, you can adjust the look and feel of the form, including fonts, button colors, and spacing.
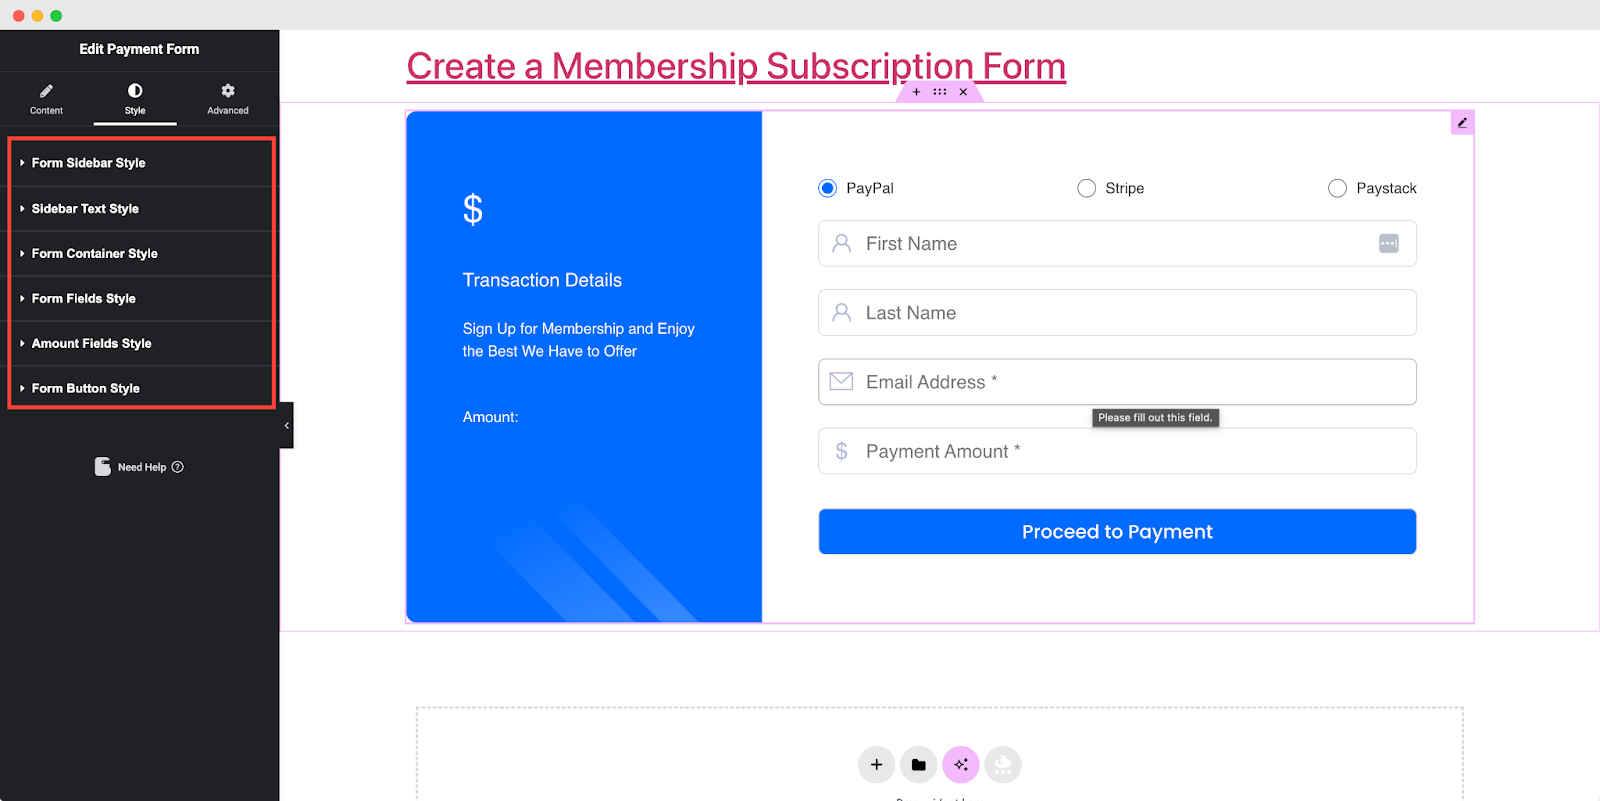
You can even modify the layout of the form to align with the overall design of your site, ensuring a seamless user experience.
Step 8: Publish the Page
Once you have set up the form and styled it according to your preferences, it is time to publish the page.
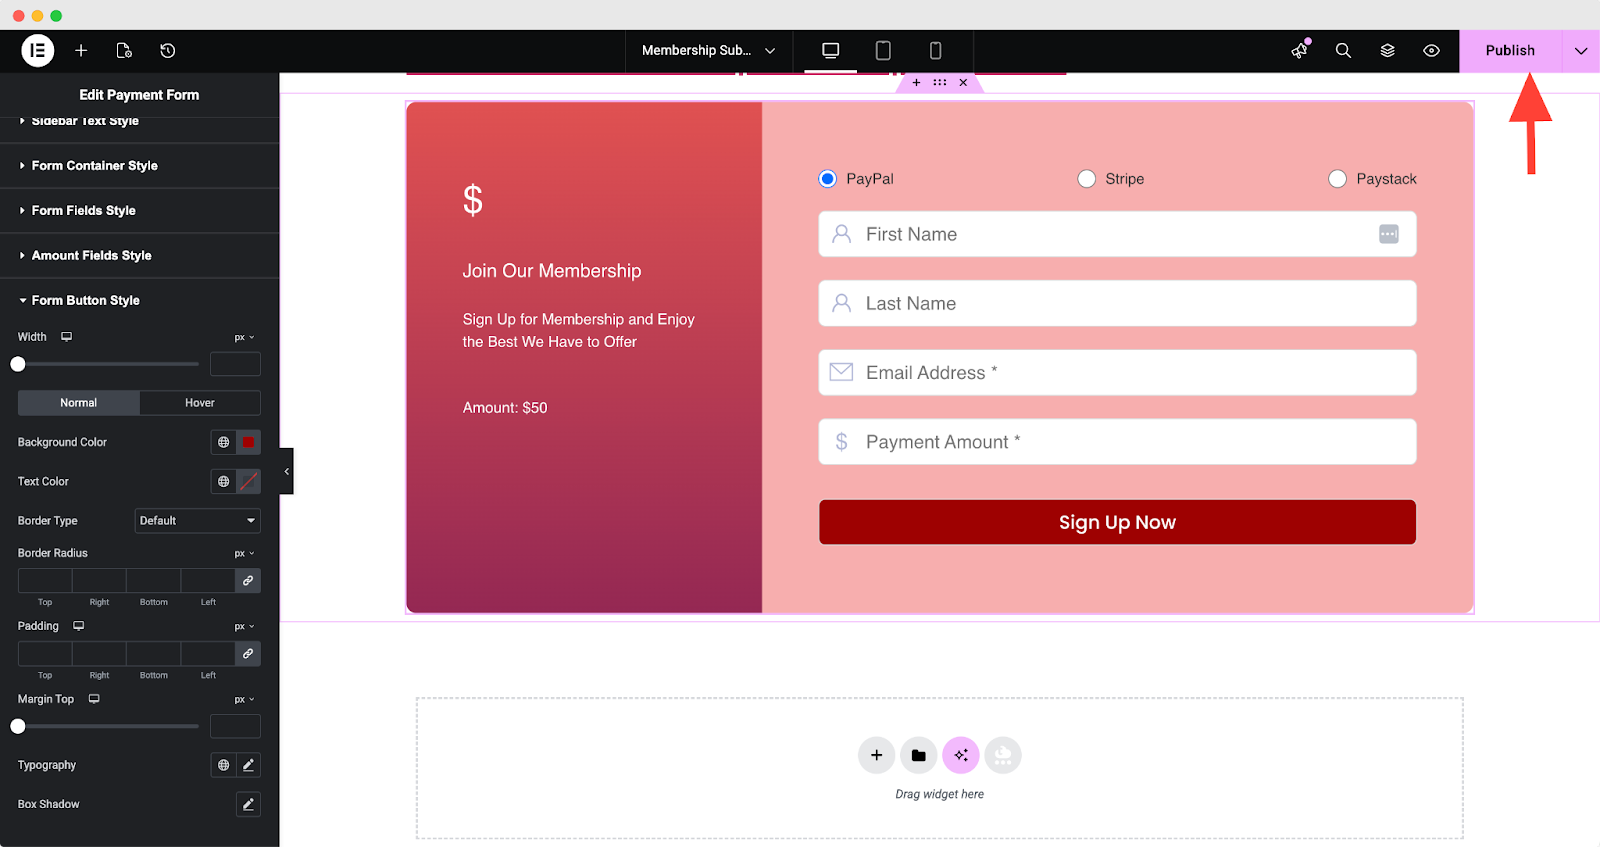
Click the Publish button in Elementor to make your membership subscription page live. Make sure to check the page on the front end to confirm that everything appears as expected and that the form functions correctly.
Step 9: Test Your Subscription Form
Before you officially launch your membership subscription form to your audience, it is crucial to run some test transactions to ensure everything is functioning smoothly. You can use test credit card numbers or PayPal’s sandbox mode to simulate real payments.
This will allow you to verify that the payment gateways are correctly processing payments and that users are receiving confirmation emails and access to their subscriptions.
Simplify Membership Subscriptions with Better Payment
Creating a membership subscription form with the Better Payment plugin in Elementor is a quick and simple process, designed to be both user-friendly and feature-rich. The integration of various payment gateways, customizable subscription options, and easy styling ensures the form fits seamlessly into your branding.
With these tools, you can provide a streamlined and hassle-free experience for your users, making membership or subscription management a breeze for any business. Following these steps ensures a smooth setup and a top-notch experience for your members.
If you have found this blog helpful, share your opinion with our Facebook community. You can subscribe to our blogs for valuable tutorials, guides, knowledge, tips, and the latest WordPress updates.