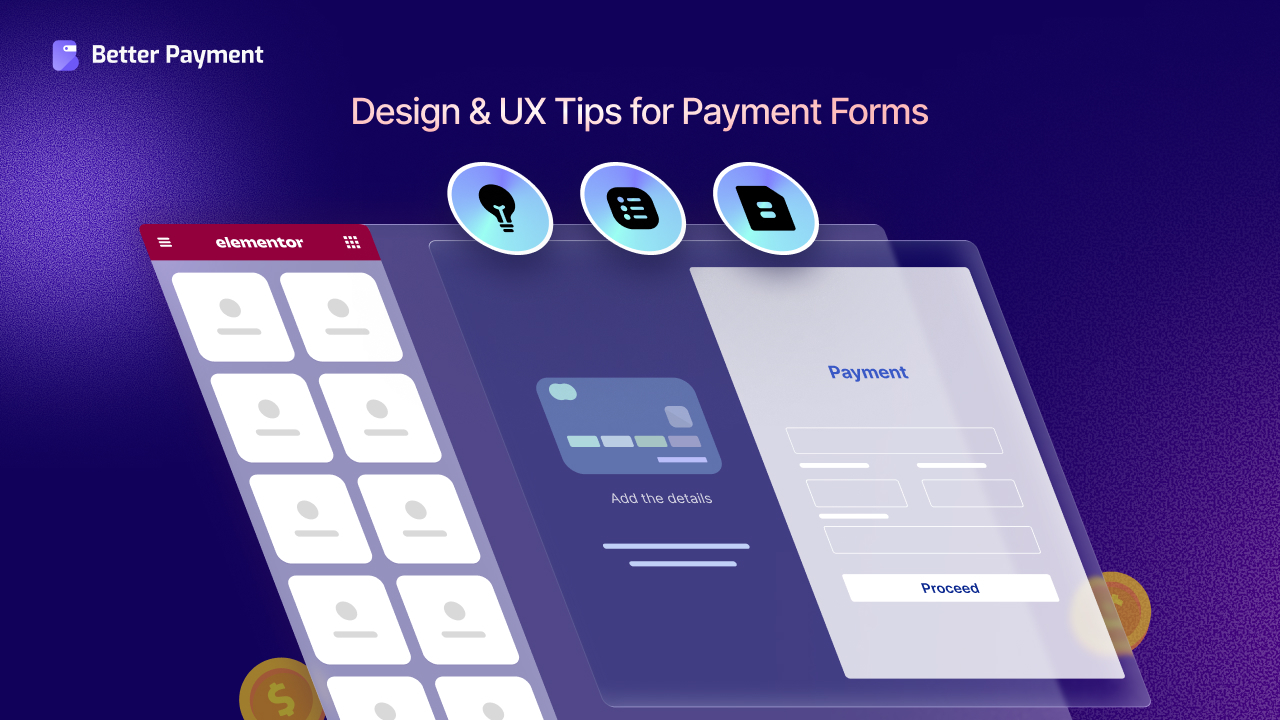
Let us be real – payment forms are hardly the highlight of a website. These forms are often kept with a flat design, generic text fields and CTAs. In short, web designers typically do not want to invest the effort in making these forms attractive and optimized. But, if done right, you can make the payment forms in Elementor websites enjoyable. And, they can become the unsung heroes of your checkout process. The best part? Making them work seamlessly is easier than you think!
Whether you are just starting your site or revamping your checkout page in Elementor, following the best practices for design and user experience, you can create the most user-friendly payment forms now. Once your forms are simple, secure and mobile-optimized, your customers breeze through checkout without a second thought. How to ensure all these? We will guide you through. Let us begin.
💡 Why Payment Forms in Elementor Matter for UX
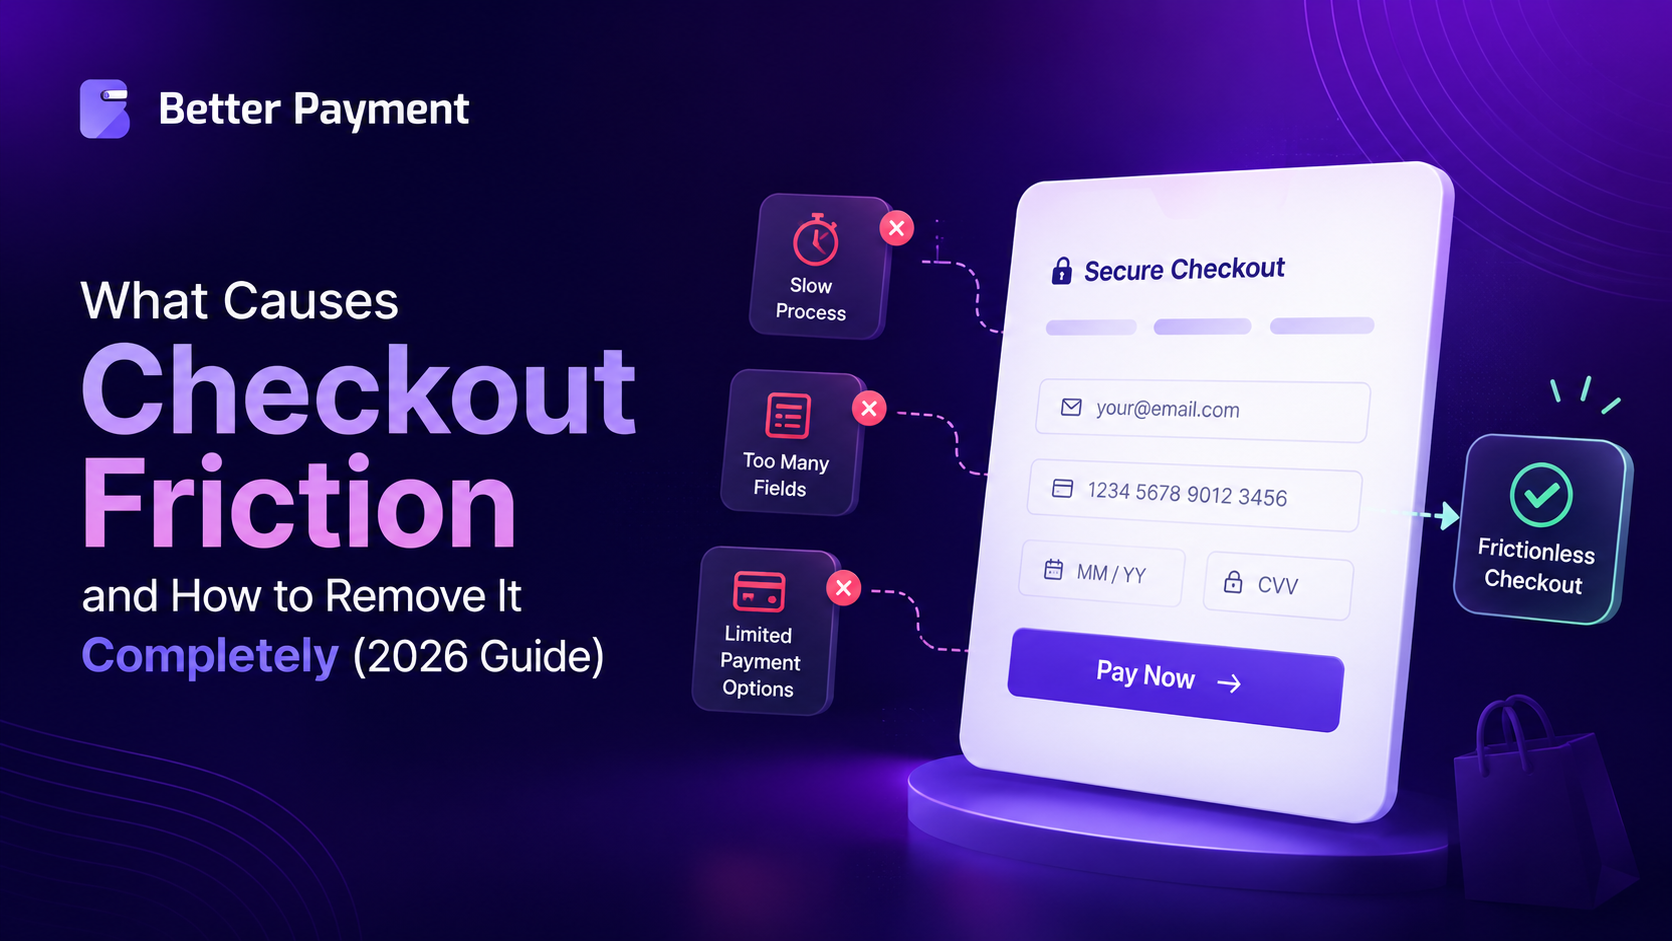
First things first: we all know that no one loves filling out forms. It is usually the final step before hitting “complete payment,” and we are all just hoping it goes smoothly. But here is the kicker: if your payment form is frustrating or hard to navigate, customers will move out. You will never want that, right?
With well-optimized payment forms in Elementor, you get full control over how that last step goes down. So, instead of it being a headache, it can be the smoothest part of your website. A seamless, intuitive payment form builds trust and leads to higher conversions. A bad one? Well, that is how cart abandonment happens.
Here is why your payment form needs to shine:
- It is the Final Touchpoint: This is the last opportunity you have to seal the deal. If it is smooth and seamless, your customer will feel confident and complete their purchase.
- First Impressions Matter: Even though it is at the end, this form reflects your brand. A professional, clean design shows your customers they are in good hands.
- Easy Checkout = Happy Customers: When it is easy for customers to pay, they are more likely to come back. After all, who wants to fight with a form just to hand over their money?
So, the bottom line? A smooth, well-designed payment form is not just a convenience; it is essential for building trust and driving sales. If you do not nail it, expect a higher bounce rate and abandoned carts. But when you get it right, your conversions will thank you!
📌 Best Practices for Designing Payment Forms in Elementor
Before getting deep into the technical setup, it is important to focus on design choices that shape the entire payment experience. A well-crafted layout, clear visual hierarchy, and intuitive flow can transform a simple form into a trust-building, conversion-boosting element of your site.
1. Keep It Simple, Keep It Clean
Here is the thing: no one wants to answer a million questions just to pay for something. Stick to the basics. Name, email, billing info, payment details – done! Anything beyond that? People might start clicking “X.”
Best Practices:
- Limit the fields to the essentials.
- Group related information (like billing and shipping) into clear sections.
- Keep the design neat and clutter-free.
💡 Pro Tip: The fewer distractions, the better. Keep your form clean and your customer will not get distracted.
2. Optimize for Mobile
Did you know that over 70% of all online shopping is done on mobile? If your payment forms are not optimized for mobile, you are basically saying, “Hey, sorry, you are not our priority.” Not cool, right?
Making your payment forms in Elementor well-equipped for smartphones, tablets and any other devices is the ticket to winning the majority of your Mobile Commerce customers, especially when most of them are ordering from mobile devices.
Best Practices:
- Use Elementor’s responsive options to make sure your forms work on any screen.
- Test across different devices (and be honest: no one likes zooming in to type).
💡 Pro Tip: The mobile version should feel just as smooth as the desktop version. If it does not? You’re losing sales.
3. Make Your CTA Button Pop
Well, your CTA button is the star of the show. Make sure it is attractive, bold, and ready for action. If it is hard to find or does not clearly tell people what to do, they might hesitate to go next.
Best Practices:
- Use clear, action-focused text on your CTA (such as “Complete Payment” or “Place Order”).
- Choose contrasting colors to make it stand out.
- Put it at the bottom of the form where it is easy to spot.
💡 Pro Tip: The CTA should practically incite users to click it – make it impossible to miss!
4. Test Before Making Live
Designing a perfect payment form is great, but testing it across multiple devices and browsers is just as crucial. What looks perfect on a desktop might not work as smoothly on mobile. So, make sure to test, test, and test some more.

Best Practices:
- Check how your payment form looks on mobile, tablet, and desktop. Use Elementor’s mobile preview to help with this.
- Do not forget to test it on Chrome, Firefox, Safari, and others to ensure compatibility.
💡 Pro Tip: Always put yourself in the user’s shoes. Will they easily be able to fill out the form, no matter what device they are using?
5. Offer Multiple & Split Payment Options
Not everyone likes to pay the same way, so give your customers options! Offering various payment methods and split payment options for installments will make them more likely to complete their purchase.
Best Practices:
- Integrate PayPal, Stripe, and more available methods so users can choose the method that works best for them.
- Provide both credit/debit card options and mobile wallets like Google Pay for added convenience.
💡 Pro Tip: Offering multiple payment gateways makes the process smoother.
📌 Best Practices of Improving UX for Payment Forms in Elementor
Let us shift gears a bit and talk about user experience (UX). How do your customers feel while filling out the form? Are they stressed out or breezing through? Here are some checkout page optimization tips to improve the whole experience.
6. Instant Feedback with Real-Time Validation
No one likes waiting until after they have submitted a form to find out something is wrong. That is so old school! With real-time validation, you can show users any errors as they go, so they can fix things right away.
Best Practices:
- Set up error messages that appear instantly (such as, “Oops, your credit card number is wrong!”).
- Make sure the error messages are clear and pop up next to the field that is incorrect.
💡 Pro Tip: Real-time validation means fewer mistakes and happier users. Plus, it gives them confidence that they are getting it right!
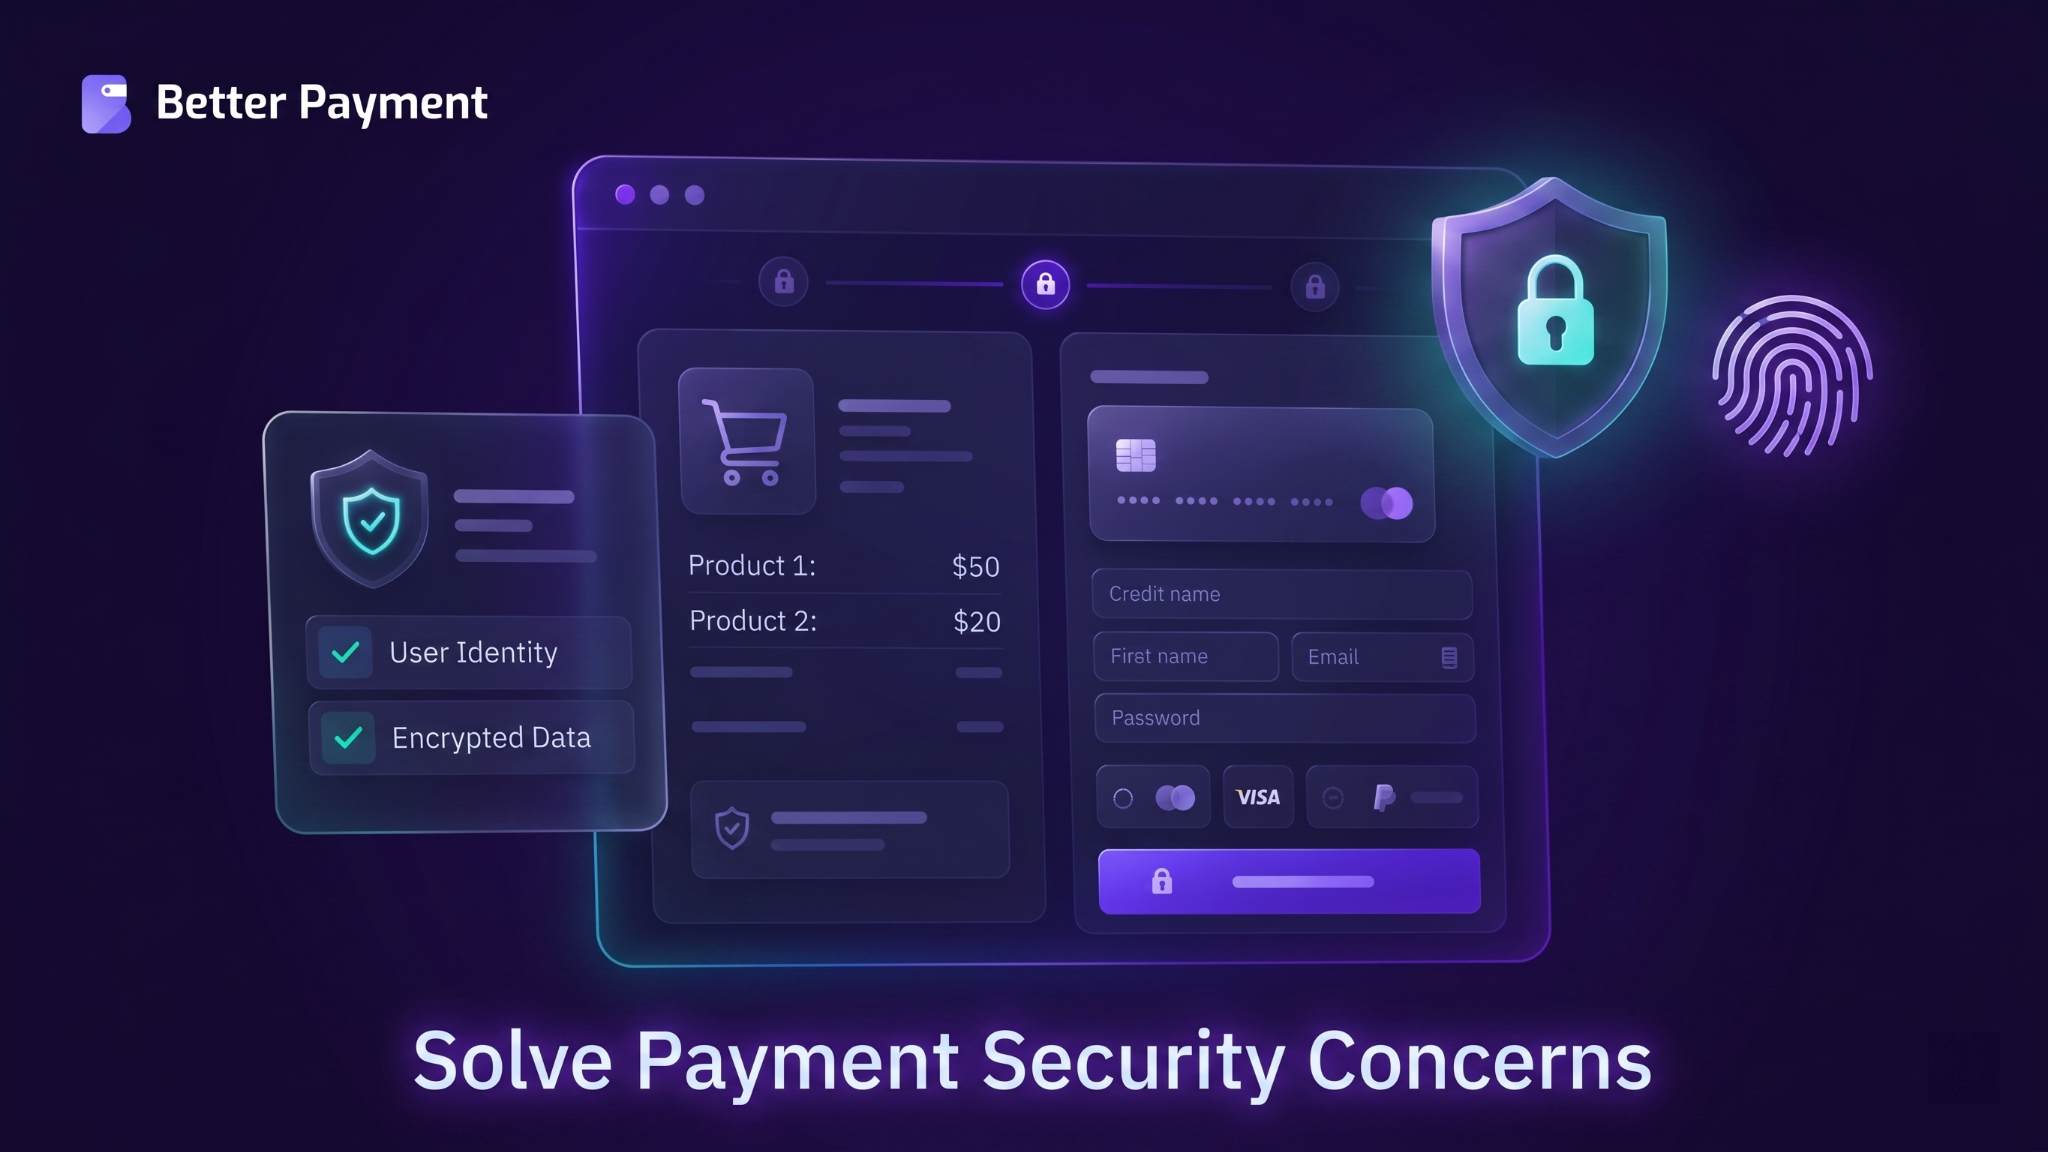
7. Trust Signals Are a Must
Let us be honest: we all have a little anxiety when we are entering our payment details online. To help calm your customers’ nerves, you need to give them those trust signals that scream “Your info is safe with us!”
Best Practices:
- Add SSL badges, payment processor logos (like Visa, MasterCard, PayPal).
- Clearly show users that their data is secure with visible security badges.
💡 Pro Tip: Trust signals help build confidence in your customers. If they feel safe, they will be more likely to complete their purchase.
8. Pre-fill Fields for a Quicker Checkout
Why make your customers enter information they have already given you? Pre-filled fields are a game-changer when it comes to speeding up the checkout process. If you have the info (like from their account or previous orders), do not ask them to enter it again.
Best Practices:
- Use Elementor’s integration options to pull in customer details from previous orders or user accounts.
- Make sure the pre-filled info is accurate (no one likes a typo!).
💡 Pro Tip: The easier you make it, the quicker they will check out. Pre-filling details = happy customers!
9. Make Payment Forms Feel Personal
People love a brand more when they find the brands care for them, understands them and offers a personalized feel at each step of a purchase. Do not just stick to a generic “submit” button – opt for something with a human touch like “Let’s Finish Your Order” or “Almost There, Complete Your Payment.”
Best Practices:
- Buttons like “Complete Payment” or “Confirm Order” feel much warmer than just “Submit.”
- A greeting like “You’re almost there!” makes users feel more at ease.
💡 Pro Tip: If your brand is playful, let that shine. If it is more formal, keep things professional but still personable.
10. Keep Your Customers in the Loop
It is best to keep your users in the loop by adding progress bars or “Processing” messages to show them where they are in the process.
Best Practices:
- Use progress bars to give them a visual indicator.
- Add real-time updates to keep the customer informed.
💡 Pro Tip: A progress bar or real-time updates reassure customers that their payment is being processed.
🎉 How Better Payment Makes the Whole Process Easy

Looking for an even smoother way to integrate payment forms into your Elementor site? Check out Better Payment – a solution that cuts out the complexity and makes adding payment forms a piece of cake.
With Better Payment, you get more than just a simple plugin – it is a complete payment solution built for Elementor. It is a lightweight tool, fully compatible with WordPress, and designed to keep checkout smooth and secure, whether you are running an online store, selling subscriptions, or collecting donations.
Here is how it helps:
- Easy Integration: No coding required – just add payment forms to your Elementor pages with ease.
- Multiple Payment Gateways: Accept payments via PayPal, Stripe, and others, all without jumping through hoops.
- Customizable Options: Tailor your forms to match your site’s look and feel, from color schemes to payment choices.
- Split Payments: Allow customers to pay for their subscriptions in two, four, or more installments instead of a single upfront fee.
- In-depth Analytics: Get an in-depth analysis of your payment collection with a visually appealing analytics tool.
Better Payment makes integrating payment forms painless, so you can get back to what really matters – growing your business!
📈 Make Payment Forms in Elementor Work for You
Integrating payment forms in Elementor does not have to be a nightmare. With a few simple tweaks, you can make the payment process a breeze for your customers and boost your conversion rates while you are at it.
From mobile optimization to real-time validation, each little detail adds up to create an experience that feels smooth, secure and even a little fun. So, try Better Payment today, follow the guides you have found here and create payment forms that people will actually enjoy.
If you have found this blog helpful, share your opinion with our Facebook community. You can subscribe to our blogs for valuable tutorials, guides, knowledge, tips, and the latest WordPress updates.